Project 1.2.2: Buzzer Control With Arduino(On and OFF)
| Description | You will learn how to create a simple circuit using an Arduino microcontroller and a buzzer to produce a sound. |
|---|---|
| Use case | Imagine you want to produce a sound using Arduino. |
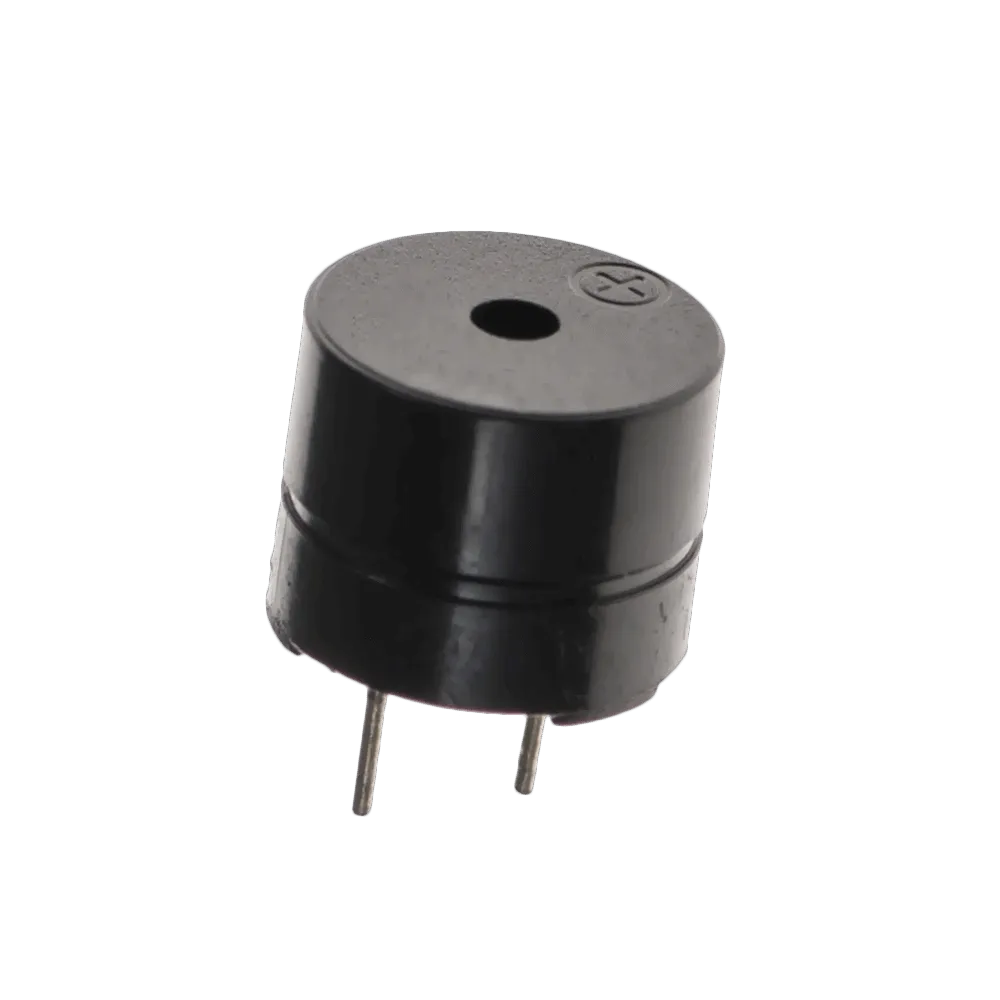
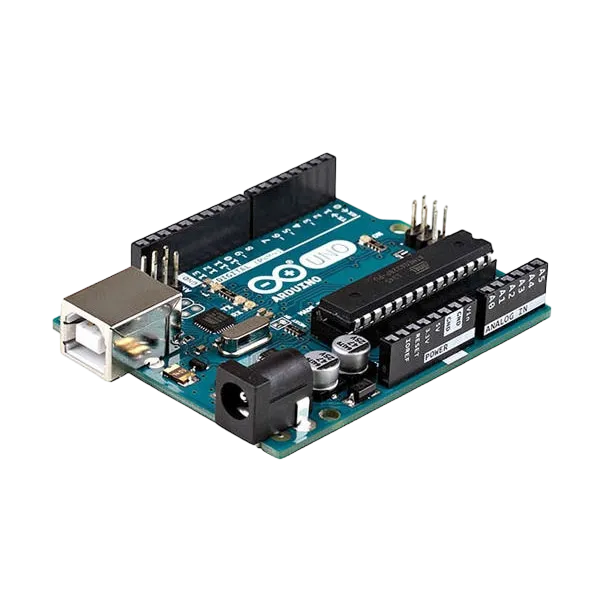
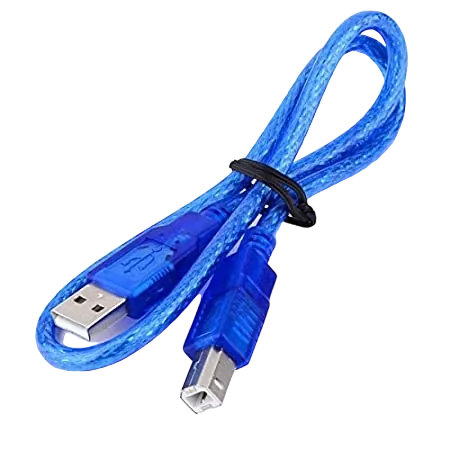
Components (Things You will need)
 |
 |
 |
 |
 |
|---|---|---|---|---|
Building the circuit
Things Needed:
- Arduino Uno = 1
- Arduino USB cable = 1
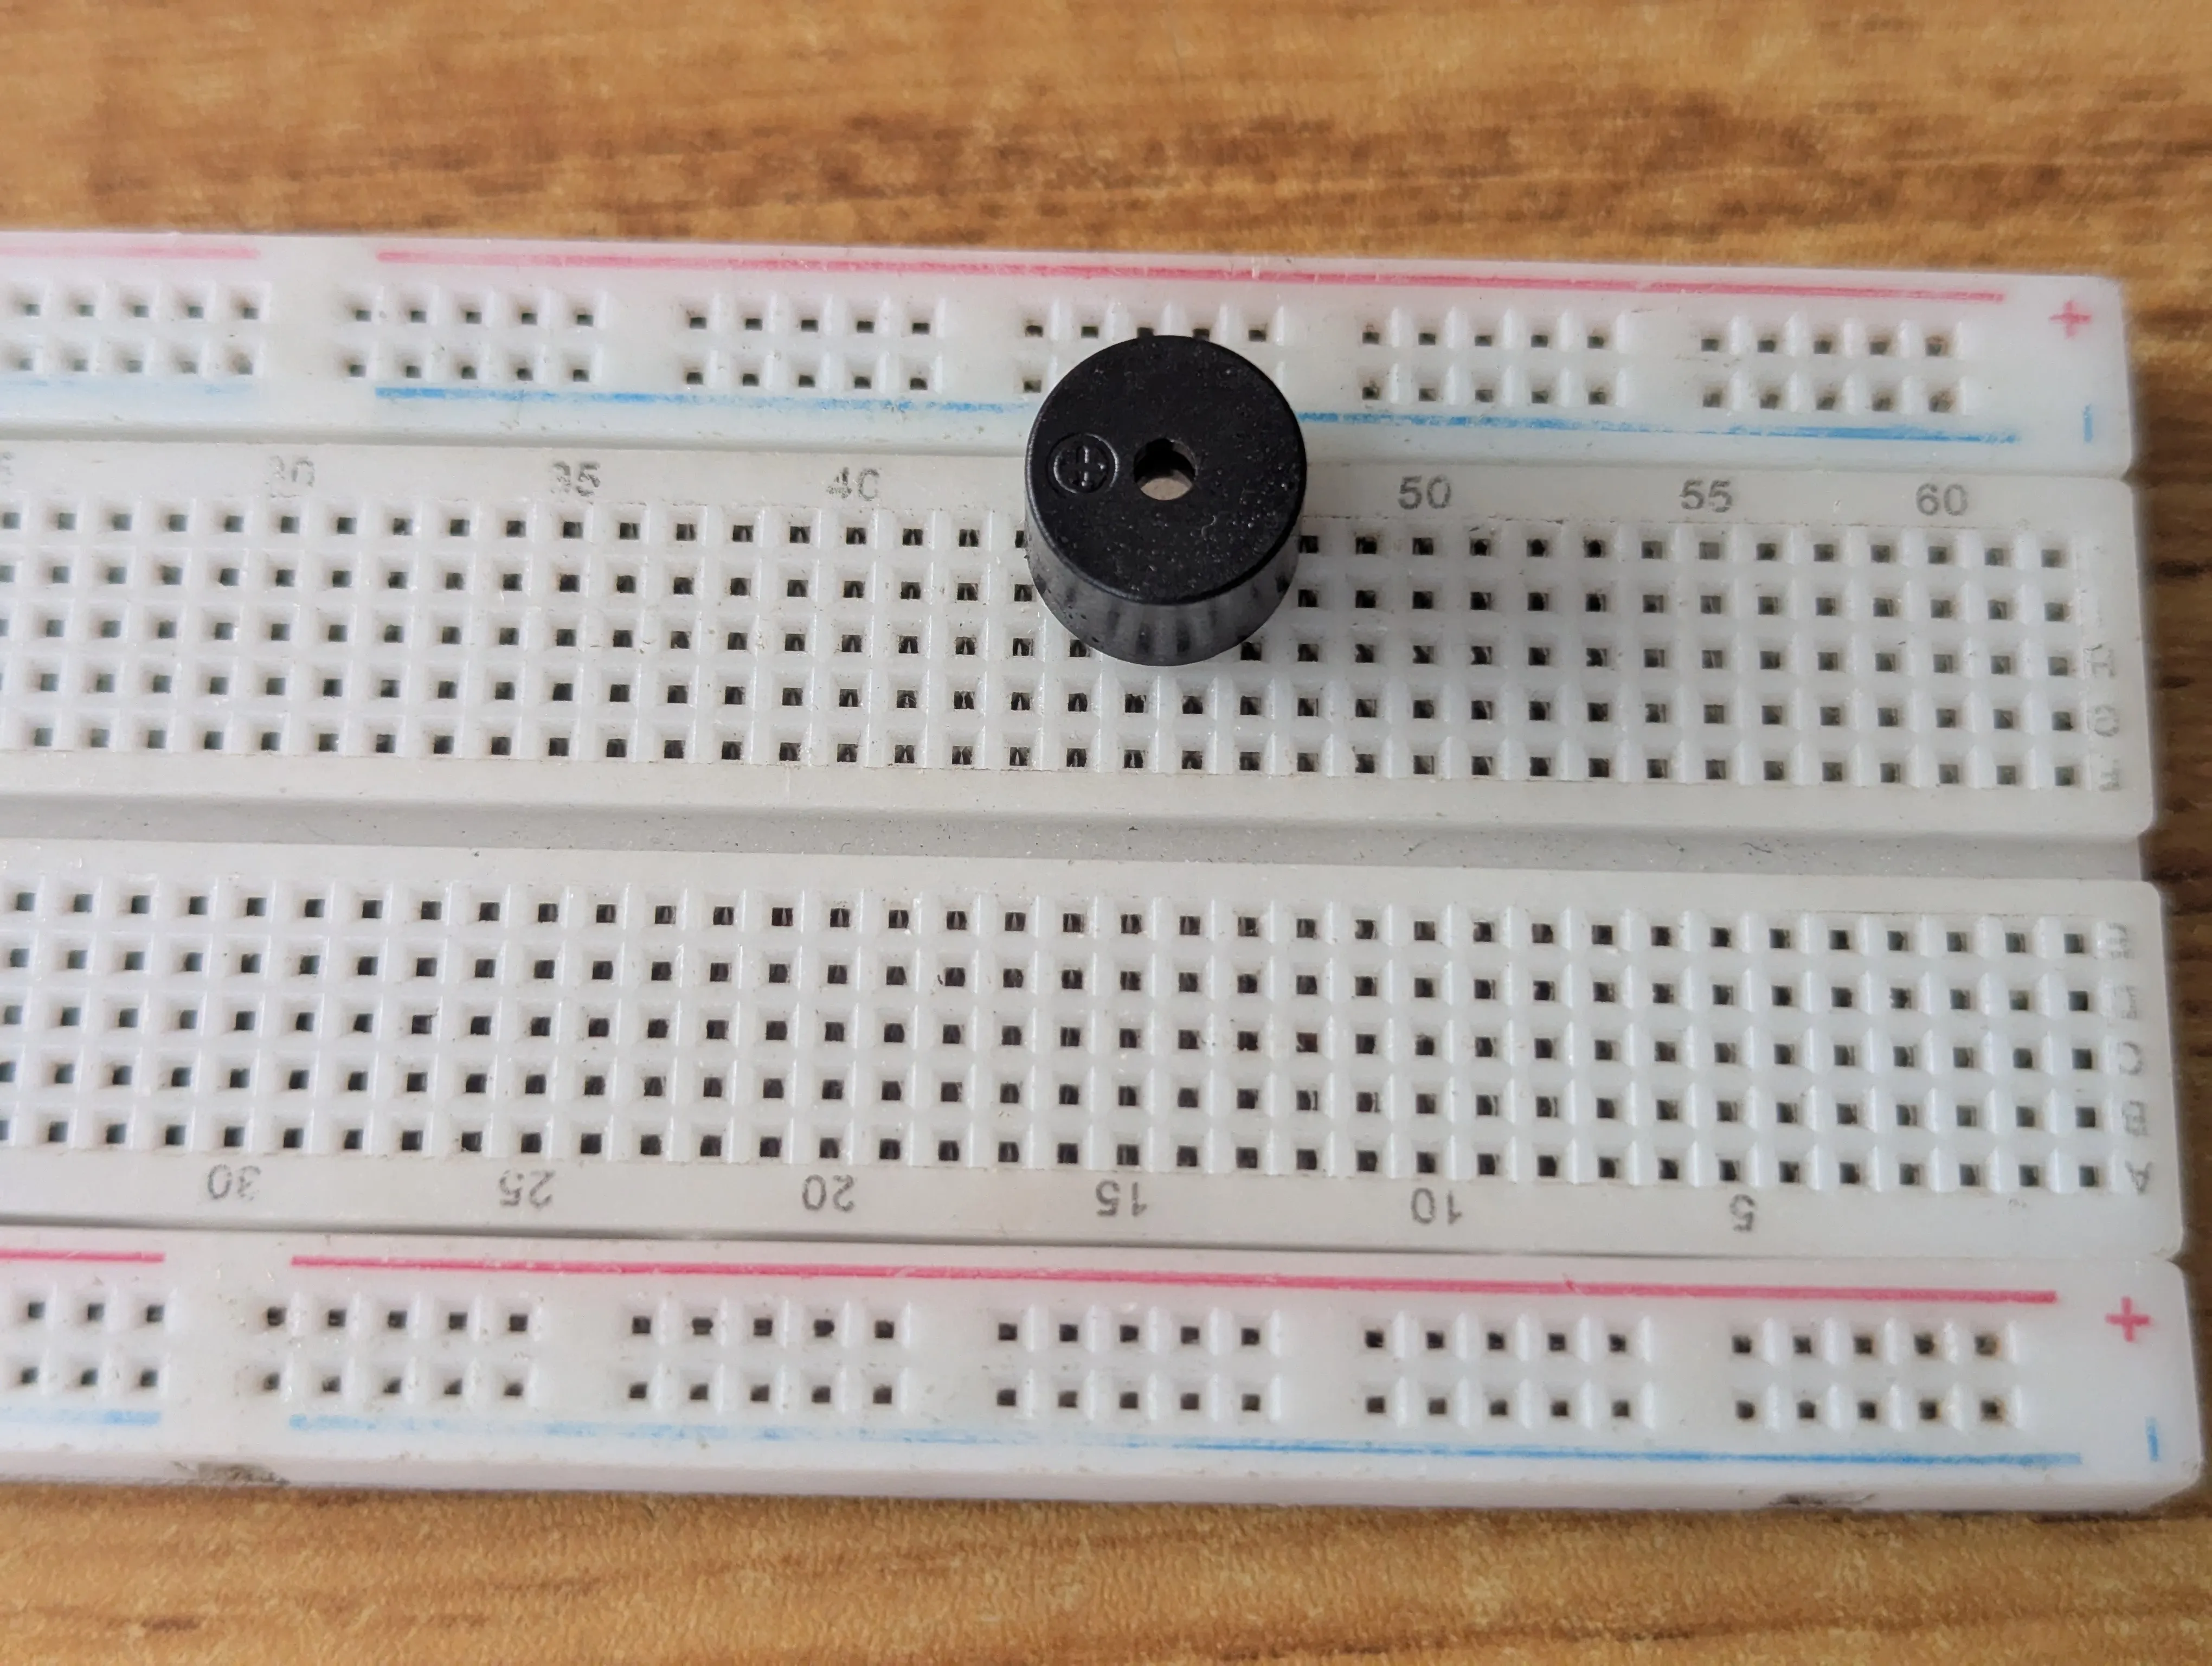
- Buzzer = 1
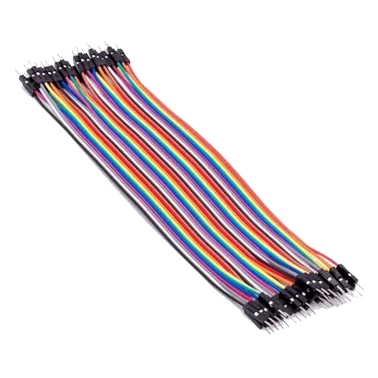
- Red jumper wires = 1
- Blue jumper wires = 1
Mounting the component on the breadboard
Step 1: Take the breadboard, the white LED and insert it into the vertical connectors on the breadboard.
 .
.
NB: Make sure you identify where the positive pin (+) and the negative pin (-) is connected to on the breadboard. The longer pin of the Buzzer is the positive pin and the shorter one, the negative PIN.
WIRING THE CIRCUIT
Things Needed:
- Red male-male-to-male jumper wires = 1
- Black male-to-male jumper wires = 1
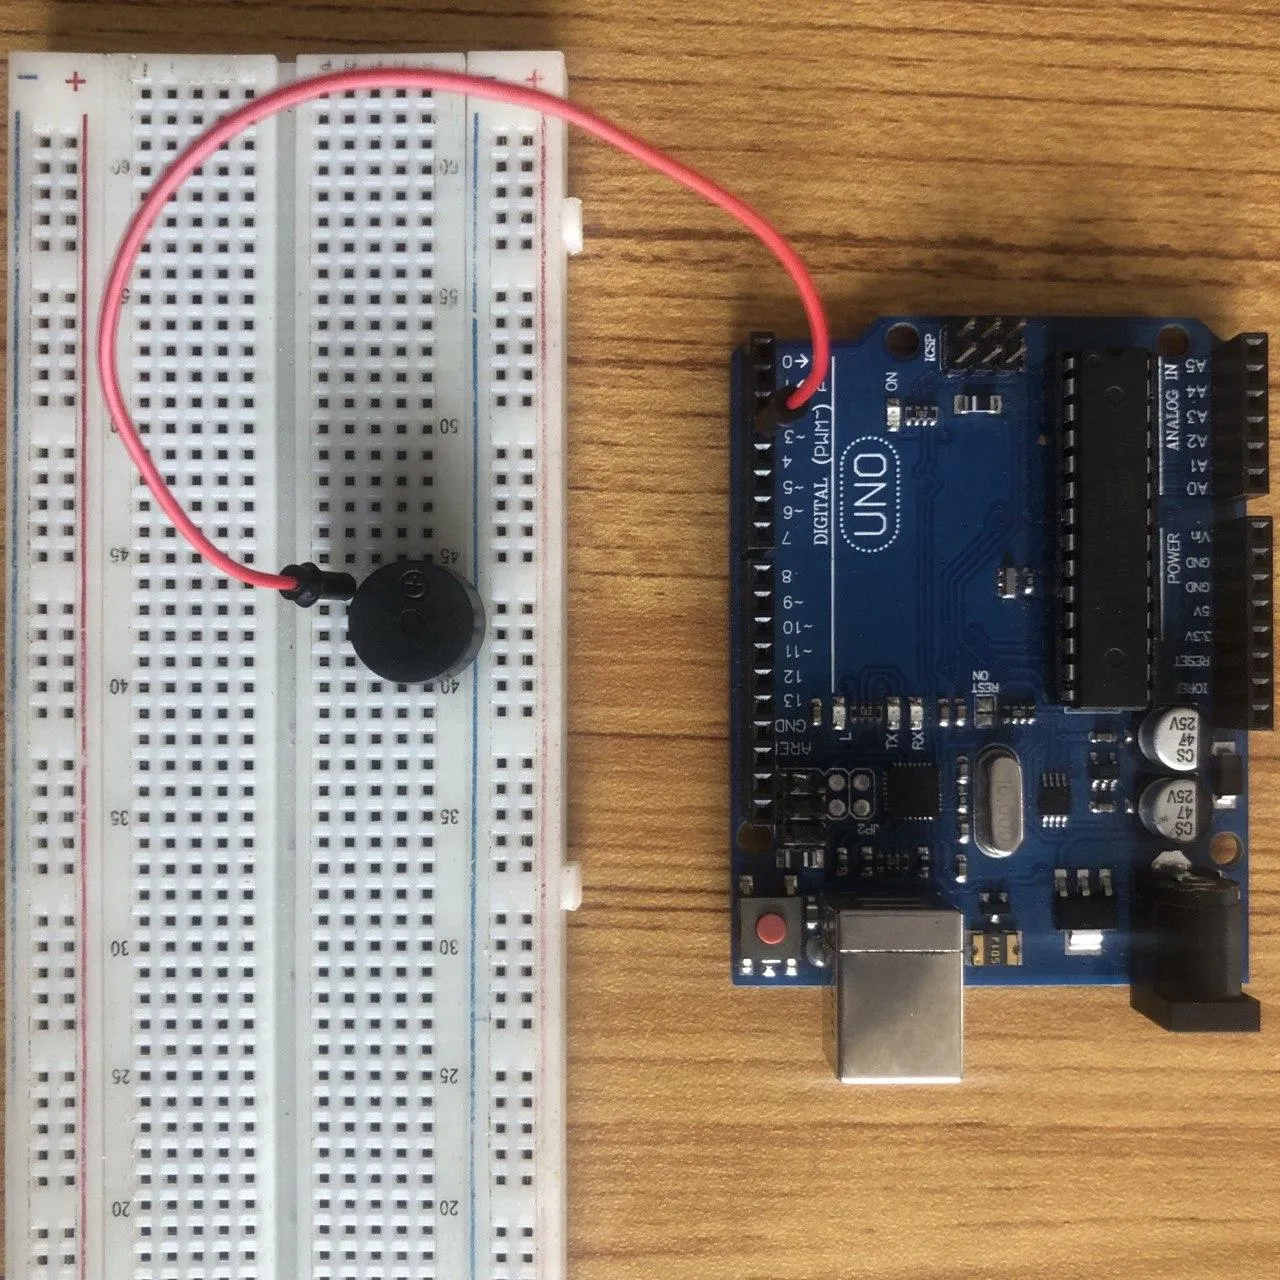
Step 2: Connect one end of the red male-to-male jumper wire to the positive pin of the buzzer and the other end to digital pin 3 on the Arduino Uno board.
 .
.
Step 3: Connect one end of the black male-to-male jumper to the negative pin of the black on the breadboard and the other end to GND on the Arduino UNO.
 .
.
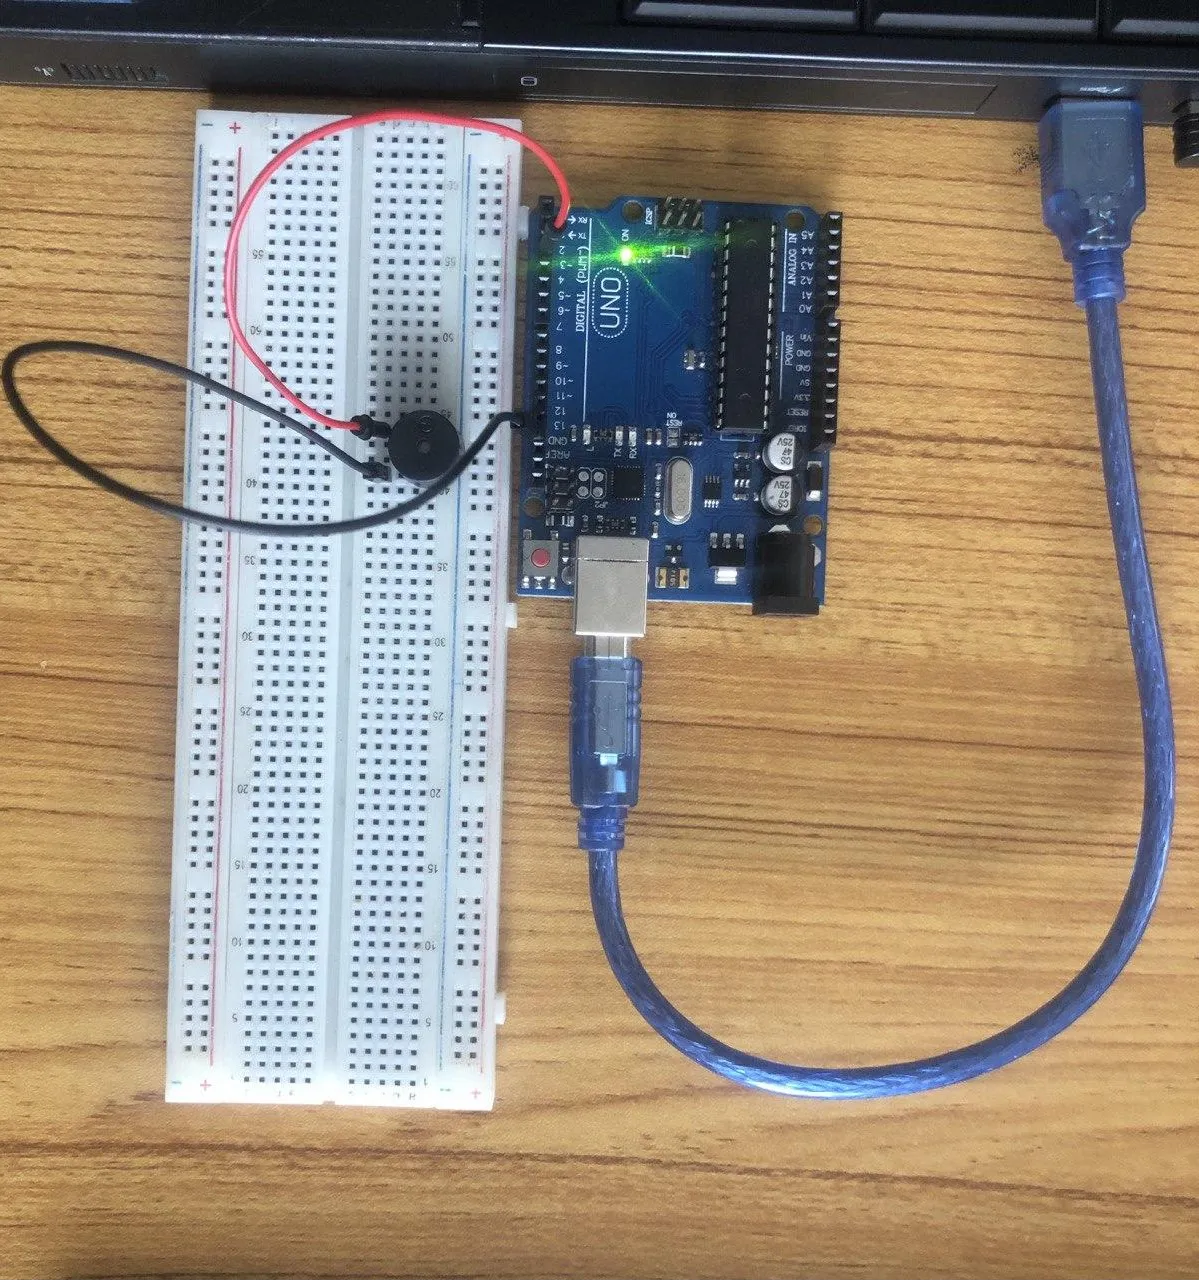
make sure you connect the arduino usb blue cable to the Arduino board.
 .
.
just as shown above, connect your USB cable to the Arduino board and to your laptop.
PROGRAMMING
Step 1: Open your Arduino IDE. See how to set up here: Getting Started.
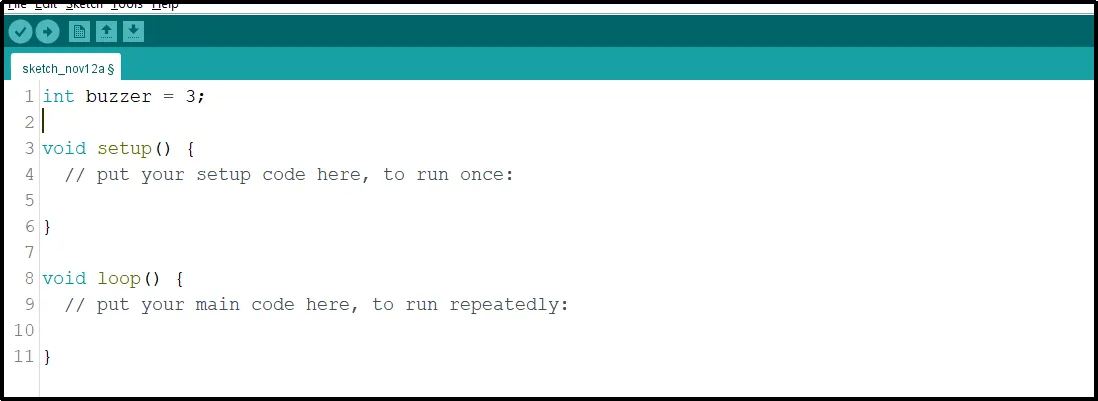
Step 2: Type int buzzer = 3; before the void setup function.
 .
.
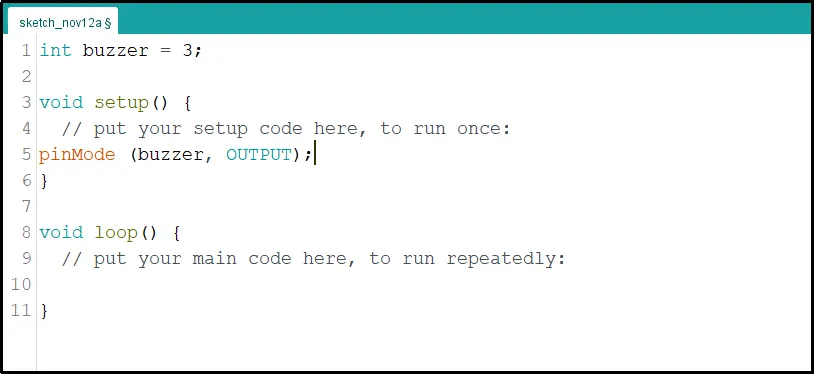
Step 3: Type the following codes in the void setup function as shown below;
 .
.
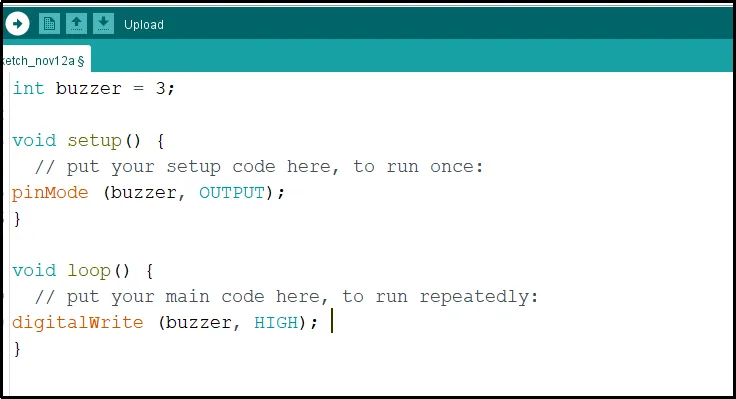
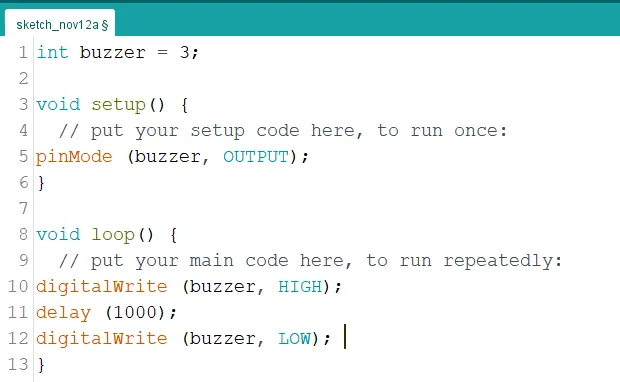
Step 4: Type the following codes in the void loop function as shown below;
 .
.
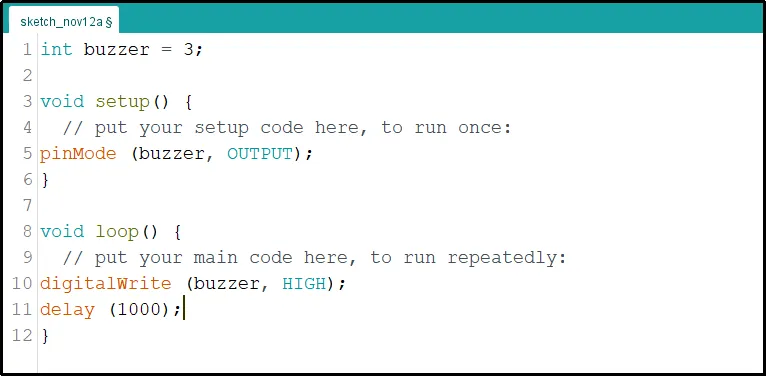
Step 5: Now, let's add a delay by typing the following code.;
 .
.
Step 6:Continue by typing the code shown below exactly as displayed in the image.
 .
.
Step 7: Finally, let's complete it by typing the following delay code as shown below.
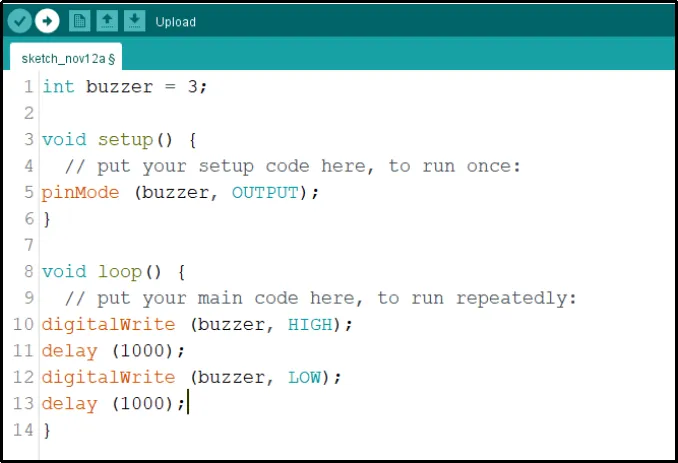 .
.
Step 5: Save your code. See the Getting Started section
Step 6: Select the arduino board and port See the Getting Started section:Selecting Arduino Board Type and Uploading your code.
Step 7: Upload your code. See the Getting Started section:Selecting Arduino Board Type and Uploading your code
OBSERVATION
When the circuit is functioning, observe the buzzer emitting a beep sound as expected. This indicates that the buzzer is receiving the signal correctly from the Arduino and is operating as intended.
CONCLUSION
The Buzzer Beep project offers learners hands-on experience in implementing a buzzer. It involves both wiring and coding to produce sounds based on the learner's preferences. This project serves as a stepping stone to understanding other output devices and sensors. It acts as an introductory experience for more intricate electronics projects, all while illustrating the concept of repetitive actions and sparking interest in practical electronic applications.