Project 1.7.0: ROBOT ARM-UP
| Description | In this project, you’ll learn how to control a servo motor to rotate to specific angles (90° and 180°). This basic project introduces concepts used in devices like car windscreen wipers and simple robotic arms. |
|---|---|
| Use case | This servo motor setup can be used in applications where precise, limited-angle rotation is required, such as in robotics or automated mechanisms. |
Components (Things You will need)
 |
 |
 |
 |
|---|---|---|---|
Building the circuit
Things Needed:
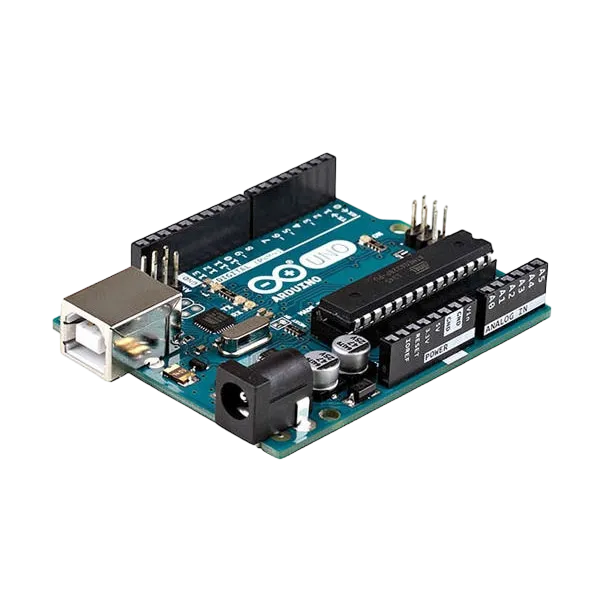
- Arduino Uno = 1
- Arduino Uno = 1
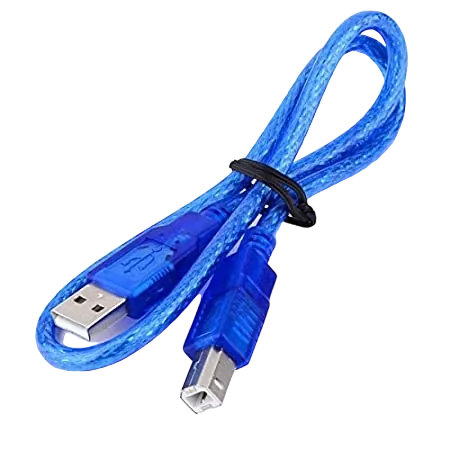
- Arduino USB cable = 1
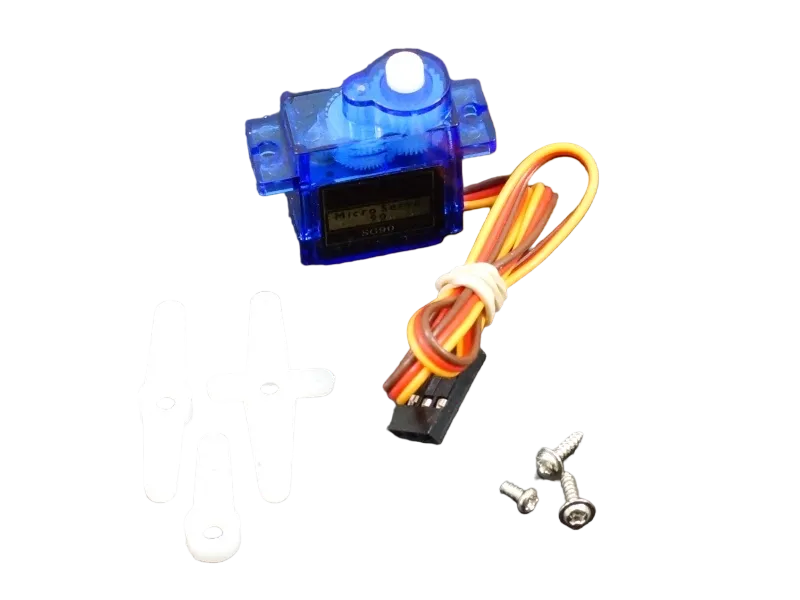
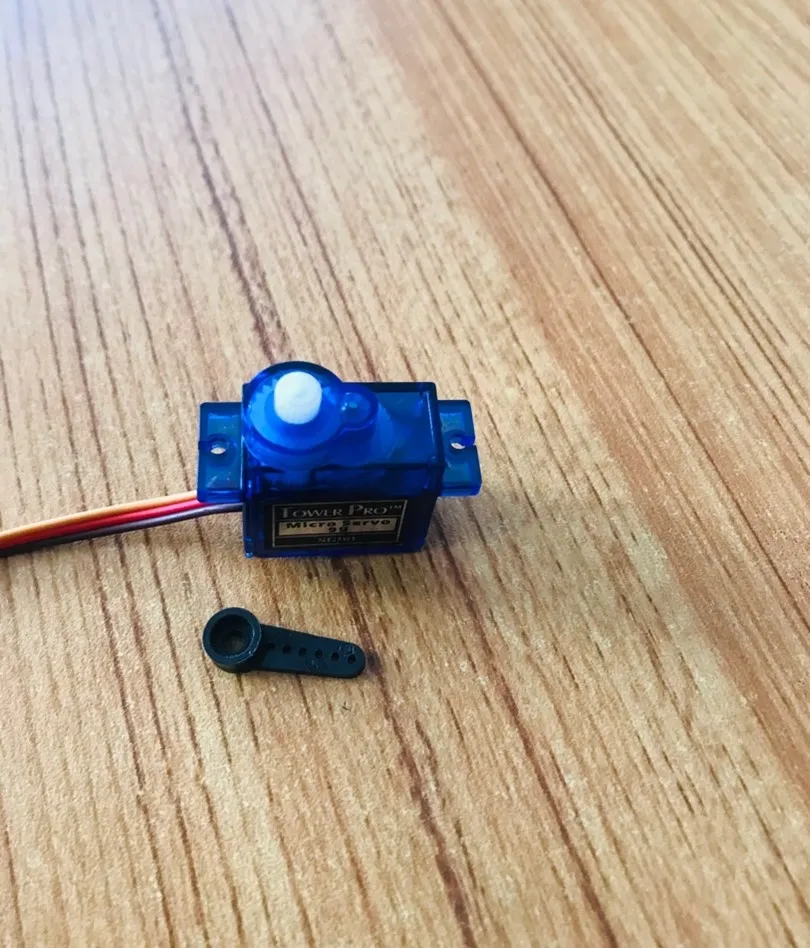
- Servo Motor = 1
- Servo Motor blade =1
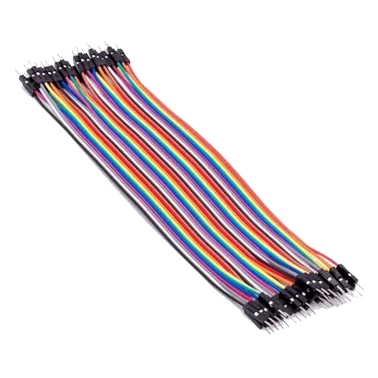
- Brown Jumper Wire = 1
- Red Jumper Wire = 1
- Orange Jumper Wire = 1
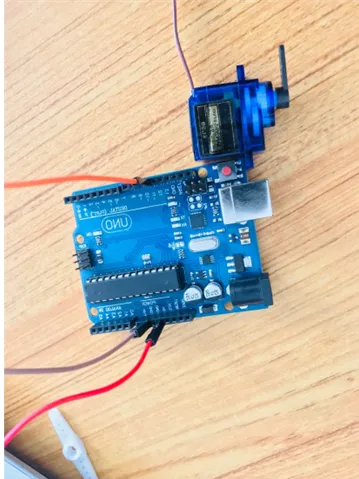
Mounting the component on the breadboard
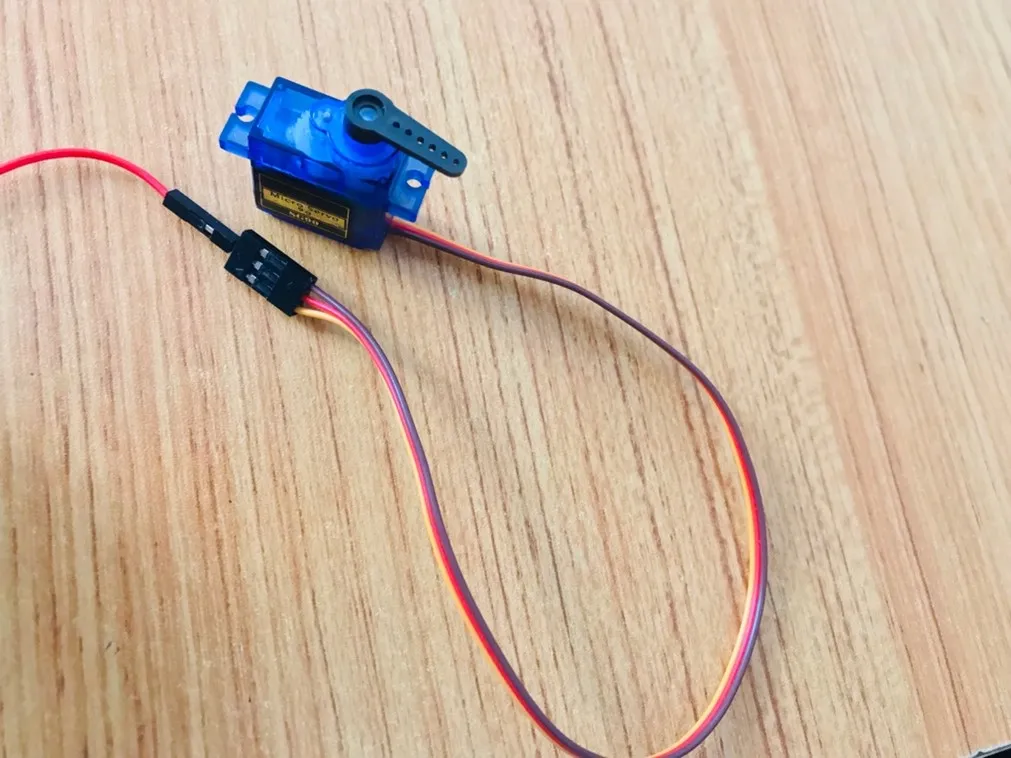
Step 1: Attach the Servo Arm: Place the swing arm on the white tip of the servo motor and press down gently until it fits securely.
 .
.
NB: Make sure you identify where the positive pin (+) and the negative pin (-) is connected to on the breadboard. The longer pin of the LED is the positive pin and the shorter one, the negative PIN.
WIRING THE CIRCUIT
Things Needed:
- Red male-male-to-male jumper wires = 1
- Brown male-to-male jumper wires = 1
- Yellow male-to-male jumper wires = 1
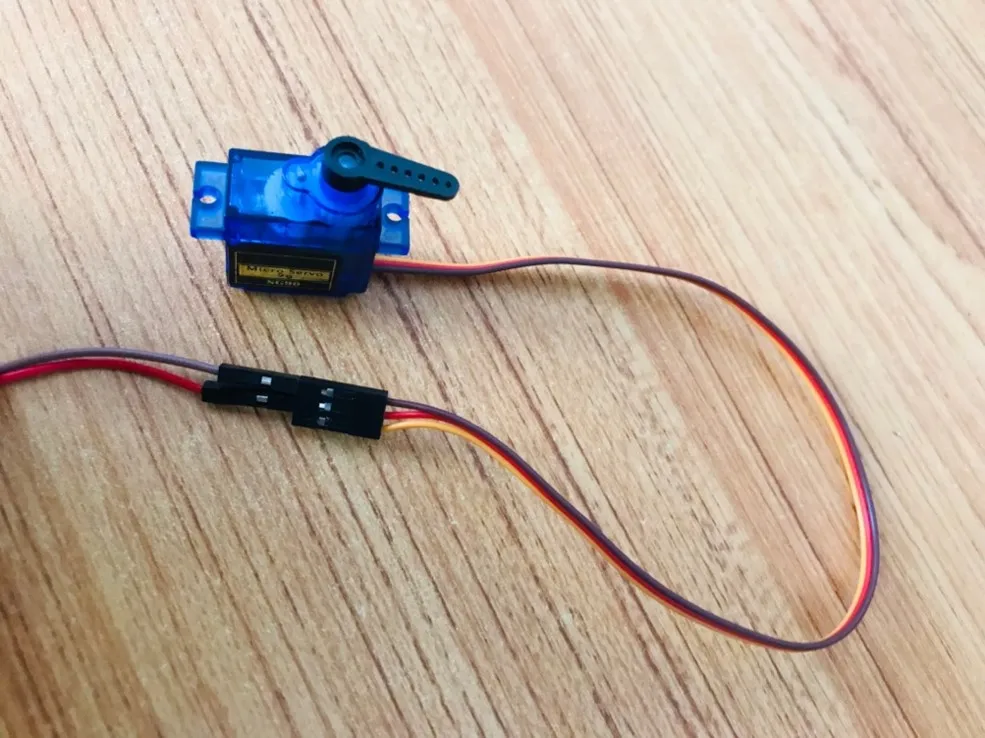
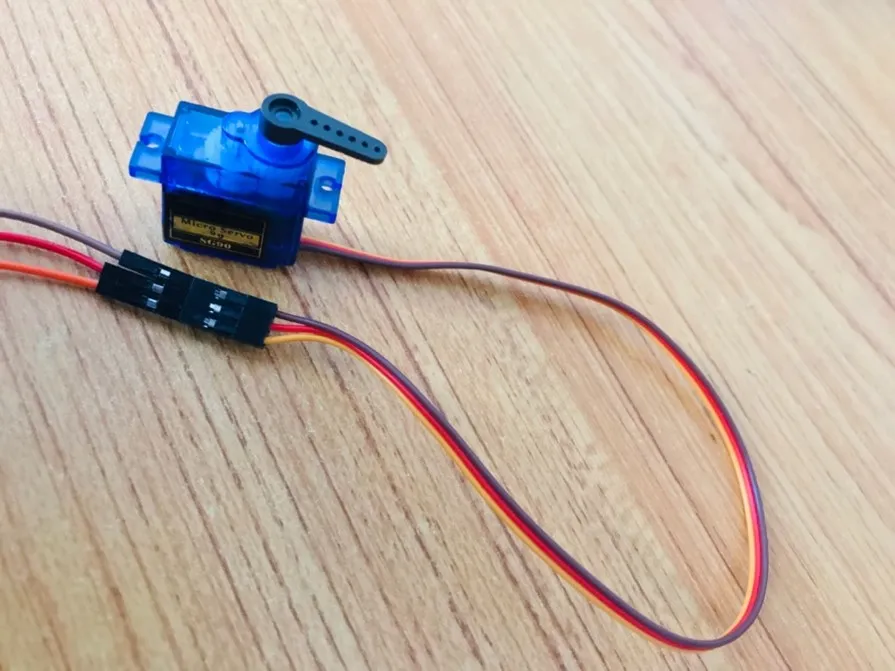
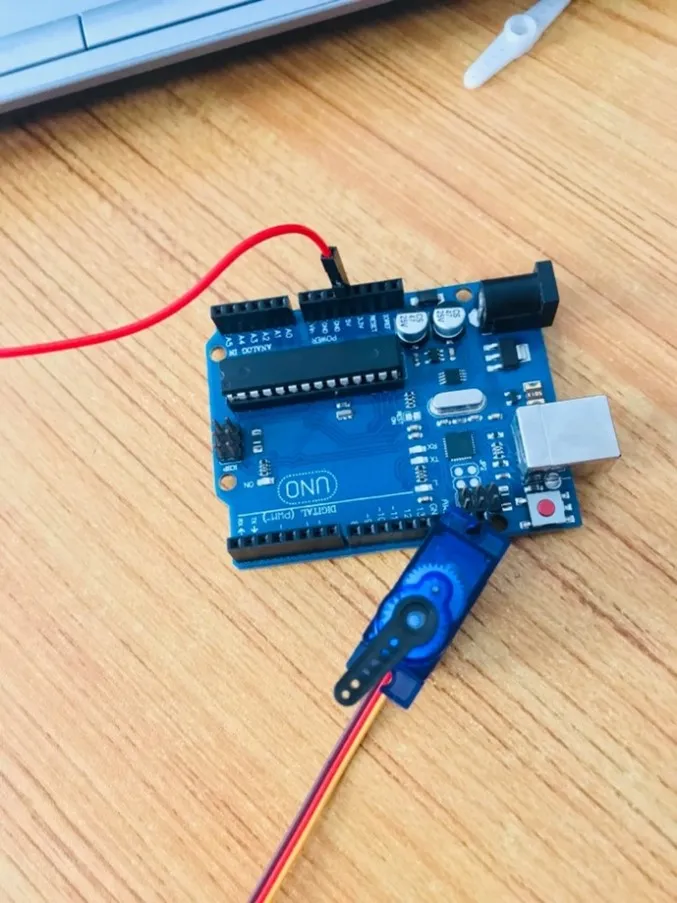
Step 2: Connect the male end of the red jumper wire to the female connector on the servo’s red wire.
 .
.
Step 3: Connect the male end of the brown jumper wire to the female connector on the servo’s brown wire.
 .
.
Step 4: Connect the male end of the orange jumper wire to the female connector on the servo’s orange wire.
 .
.
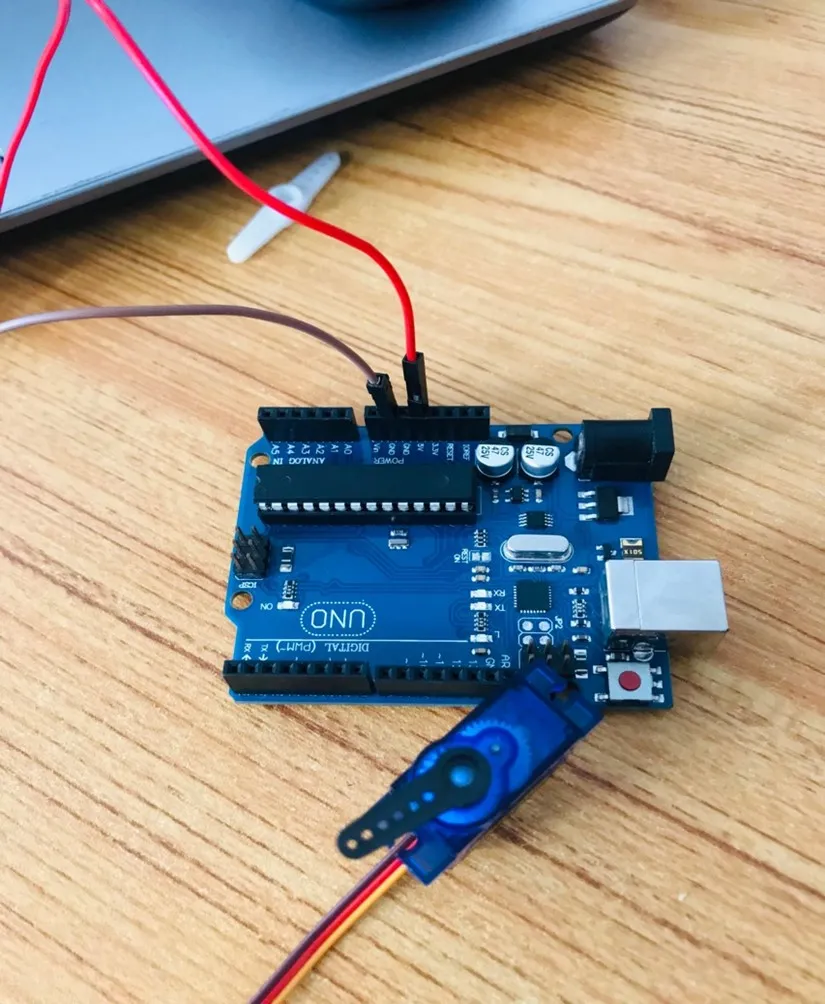
Step 5: Connect the other end of the red jumper wire to the 5V pin on the Arduino Uno.
 .
.
Step 6: Connect the other end of the brown jumper wire to gnd pin on the Arduino Uno.
 .
.
Step 7: Connect the other end orange jumper wire to Digital pin 10 on the Arduino Uno.
 .
.
just as shown above, connect your USB cable to the Arduino board and to your laptop.
PROGRAMMING
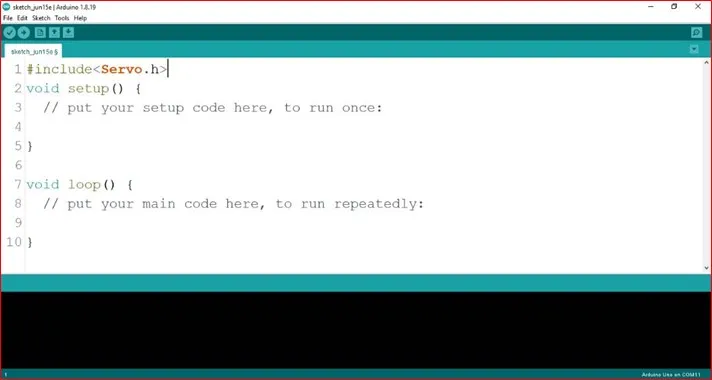
Step 1: Open your Arduino IDE. See how to set up here: Getting Started.
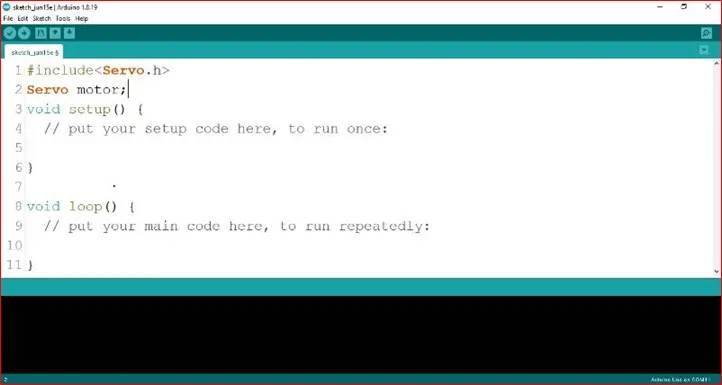
Step 2: Type #include <Servo.h>; on line one before void Setup() function.
 .
.
Step 3: Type Servo motor; on line two before void Setup() function.
 .
.
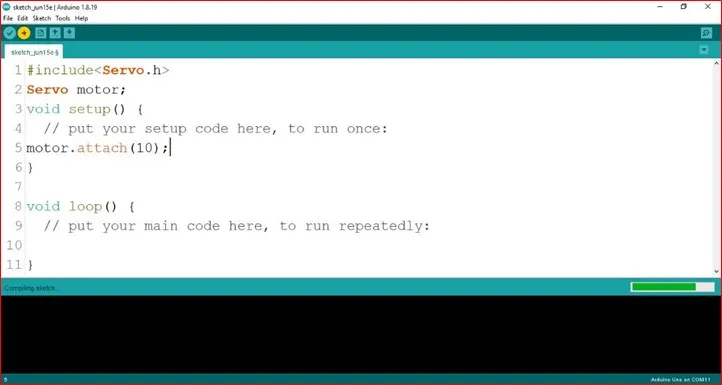
Step 4: Type motor.attach(10); inside the void Setup() function.
 .
.
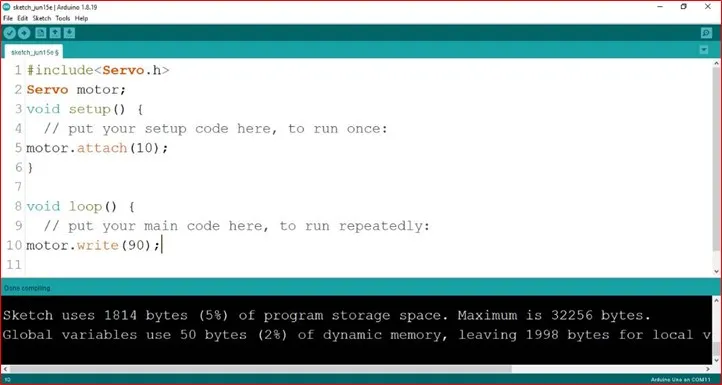
Step 5: Type motor.write (90); inside the void loop() function.
 .
.
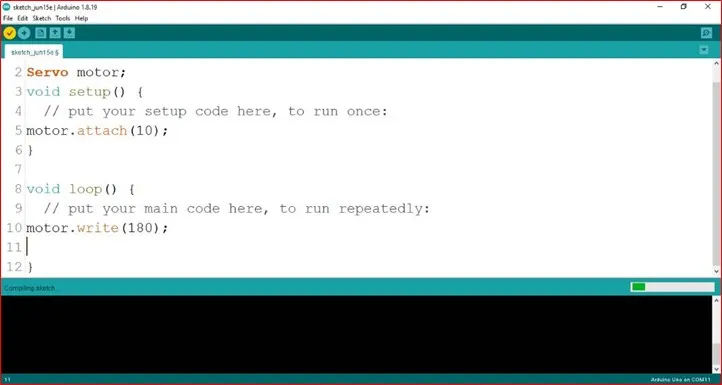
_NB: The swing arm can only turn up to 180 degrees. It will not turn to an angle about 180. You can change the angle by adjusting the number in the bracket. Example: motor.write(180); as seen below:
 .
.
_NB: Here, motor.write(90); sets the servo to 90 degrees. You can change the angle by adjusting the number (from 0 to 180) in parentheses, such as motor.write(180);
Step 6: Save your code. See the Getting Started section
Step 7: Select the arduino board and port See the Getting Started section:Selecting Arduino Board Type and Uploading your code.
Step 8: Upload your code. See the Getting Started section:Selecting Arduino Board Type and Uploading your code
CONCLUSION
This project teaches you the basics of controlling a servo motor, which is essential in many electronics and robotics applications. By adjusting the rotation angle, you can experiment with different movements, exploring how targeted motion can be used in various devices.