Project 2.6.1:Push Button with Buzzer
| Description | This project introduces a simple circuit using a push button and a buzzer. The push button acts as a trigger to activate the buzzer, which can be used for applications like a quiz contest bell or notification systems. |
|---|---|
| Use case | Imagine you want to program a bell for a quiz contest. |
Components (Things You will need)
 |
 |
 |
 |
 |
 |
|---|---|---|---|---|---|
Building the circuit
Things Needed:
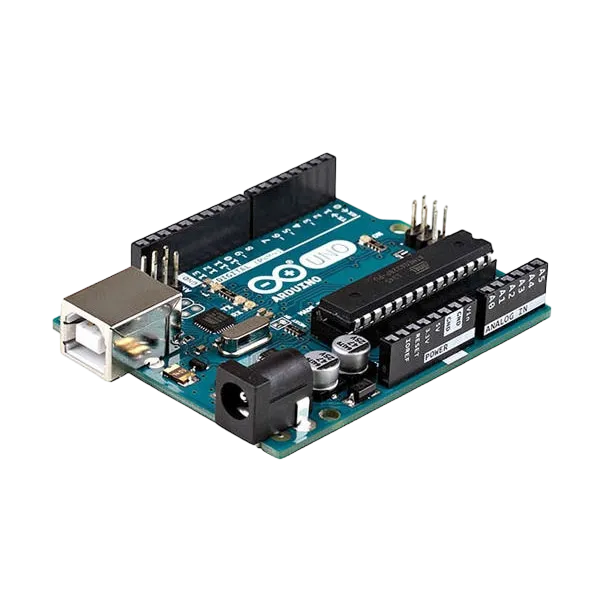
- Arduino Uno = 1
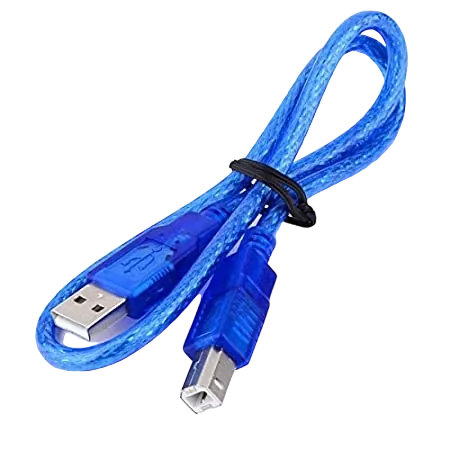
- Arduino USB cable = 1
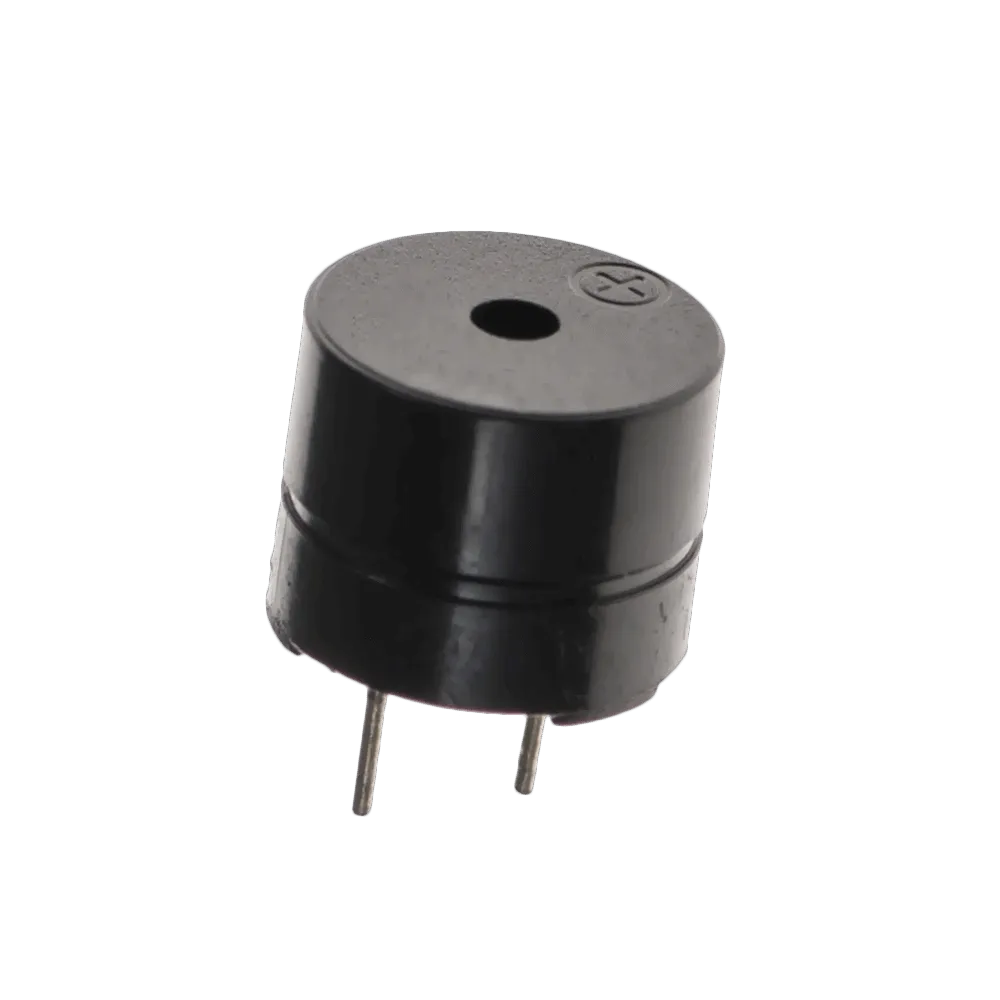
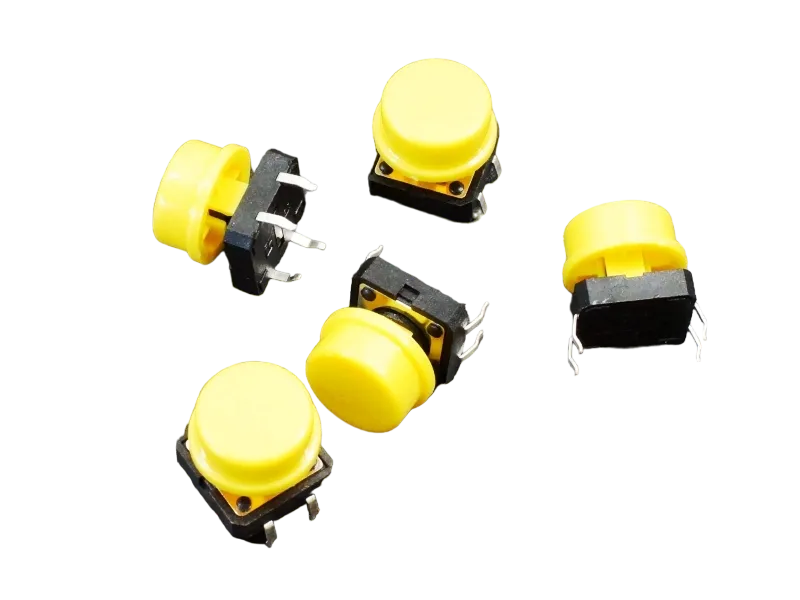
- Buzzer = 1
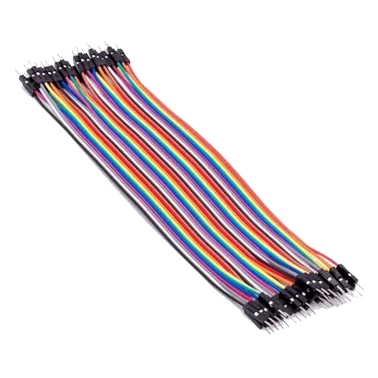
- Red jumper wires = 2
- White jumper wire= 1
- Green jumper wire= 1
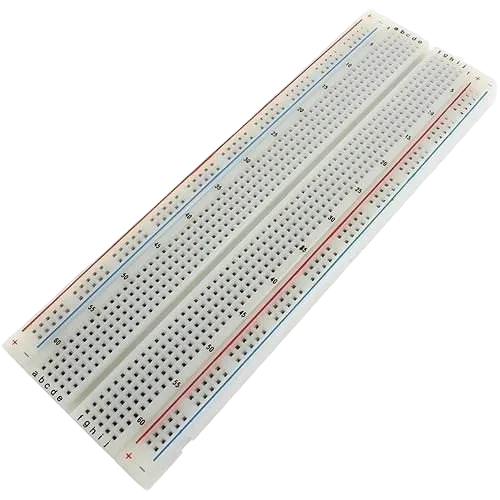
Mounting the component on the breadboard
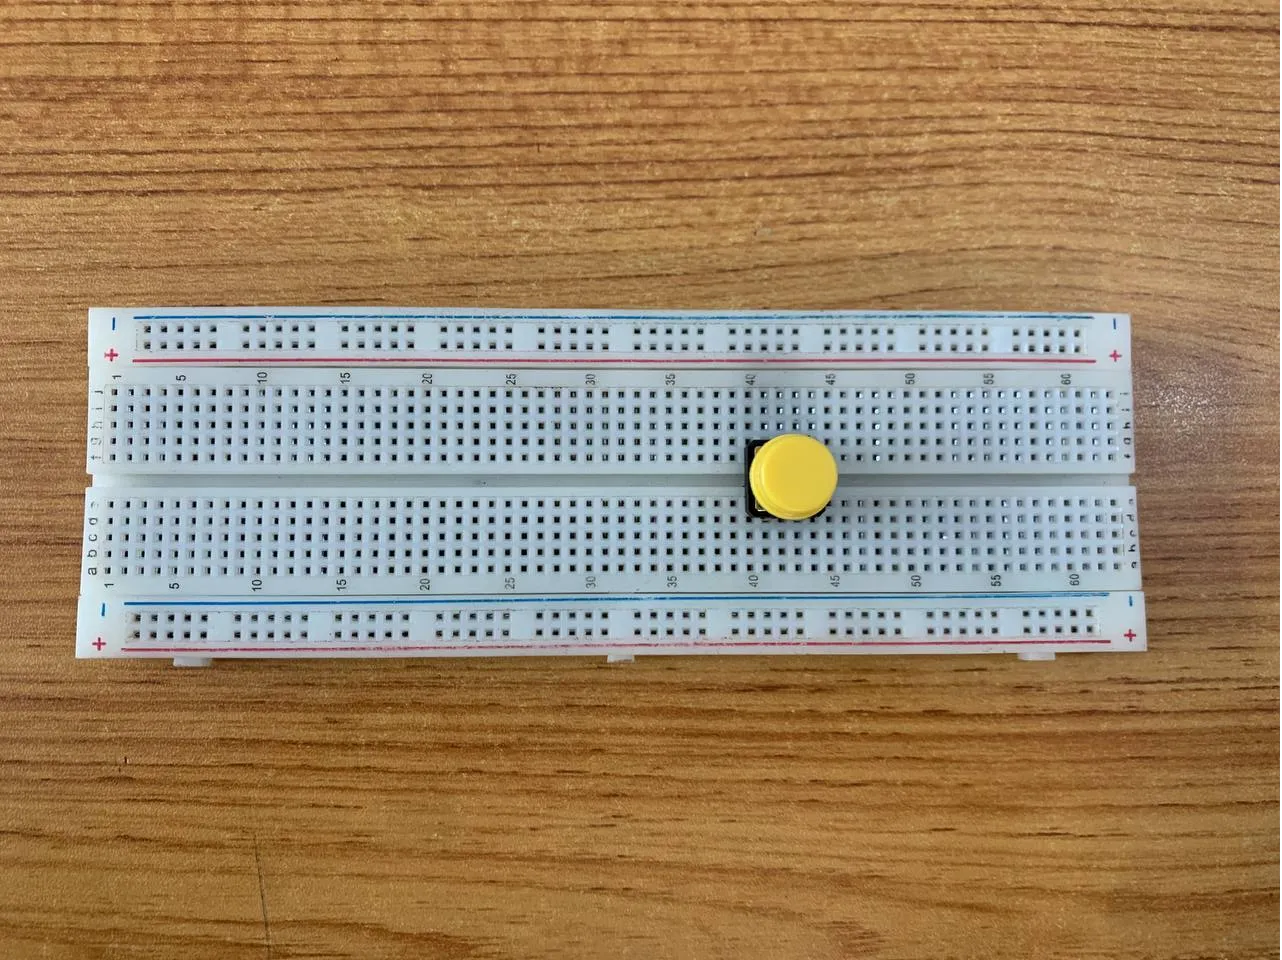
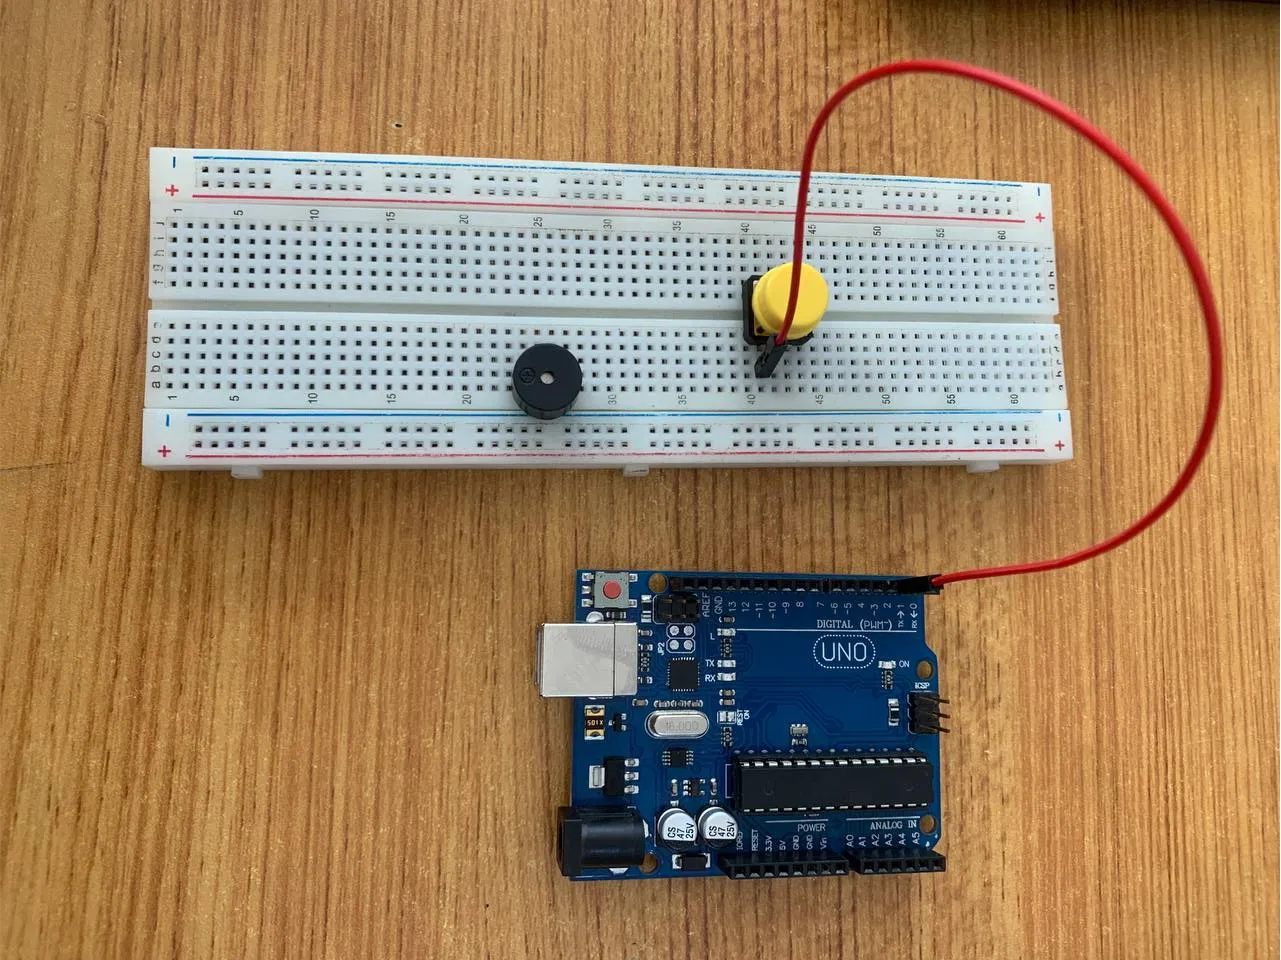
Step 1: Push Button:Insert two pins into row g and two pins into row d on the breadboard
 .
.
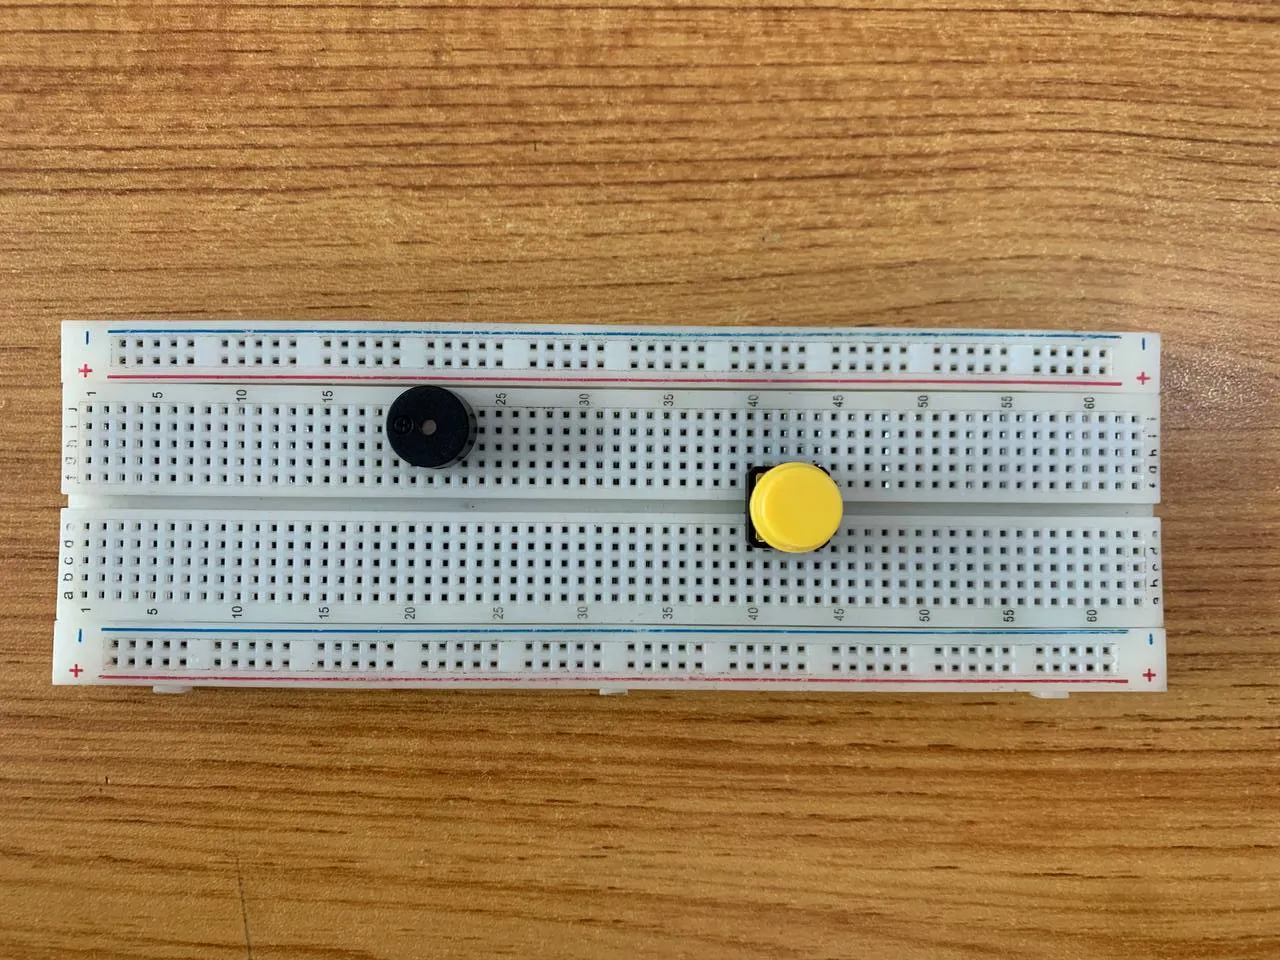
step 2: Buzzer: Insert the buzzer into row J on the breadboard. Ensure the longer pin (positive) is correctly aligned.
 .
.
Note:Take note of where each of the pins are placed on the bread board
WIRING THE CIRCUIT
Things Needed:
- Red jumper wires = 2
- White jumper wire= 1
- Green jumper wire= 1
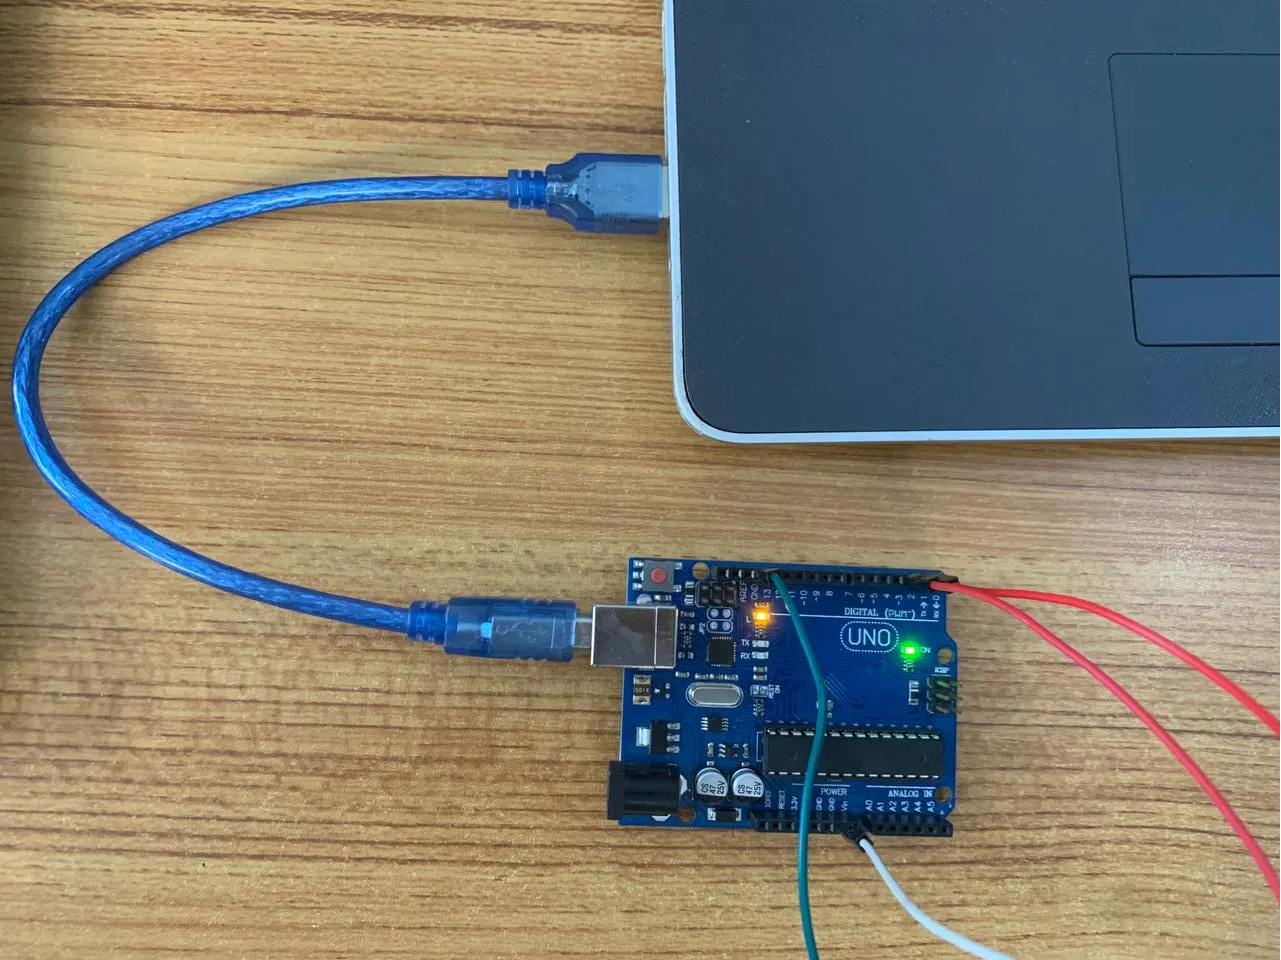
step 1: Red Wire: Connect one end to the pin on row d and the other end to Digital Pin 2 on the Arduino Uno.
 .
.
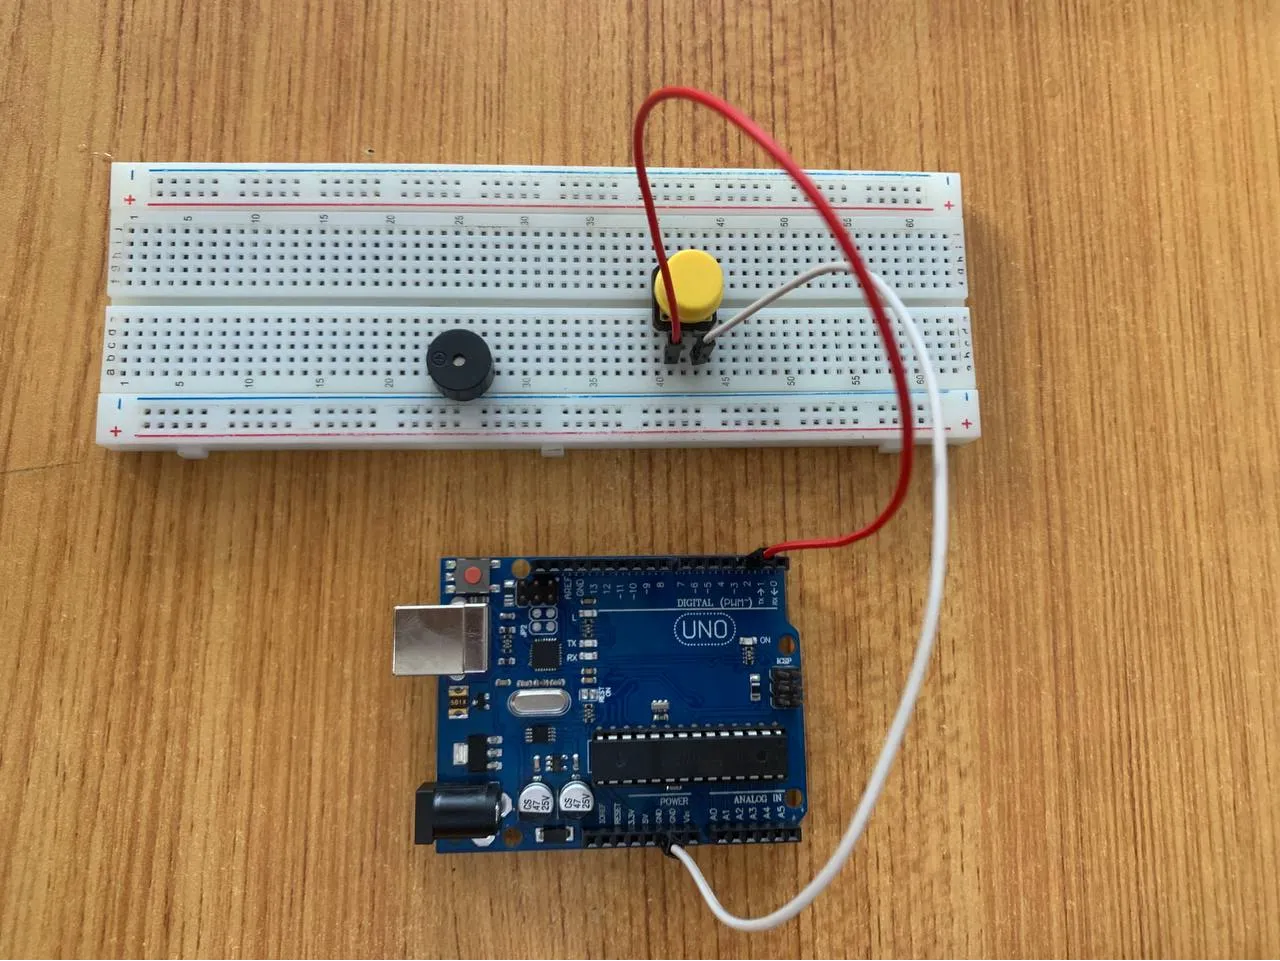
step 2: White Wire: Connect one end to the other pin on row d and the other end to GND on the Arduino Uno
 .
.
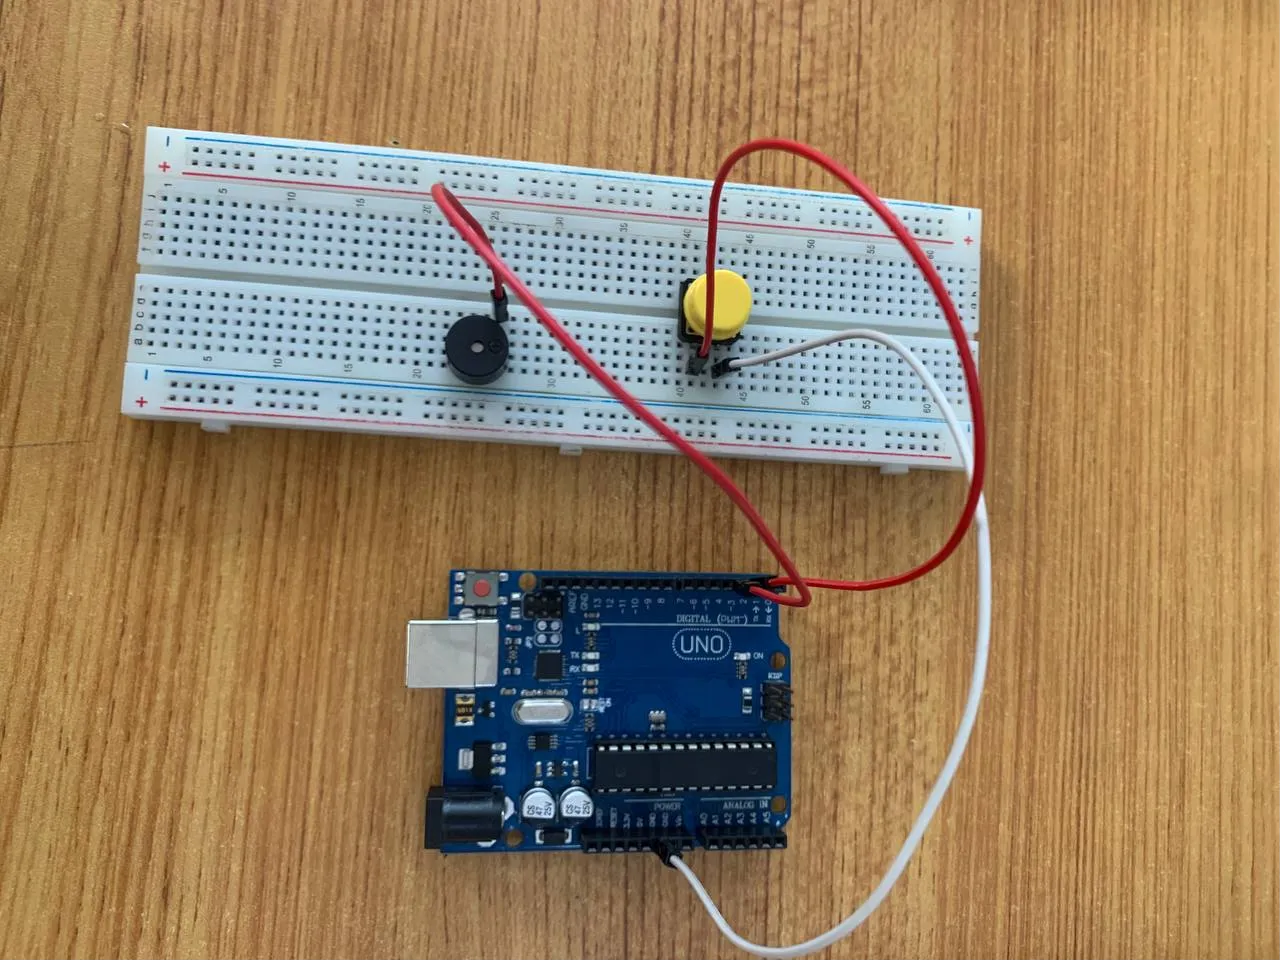
step 3: Red Wire: Connect the positive pin of the buzzer to Digital Pin 3 on the Arduino Uno.
step 4: Green Wire: Connect the negative pin of the buzzer to GND on the Arduino Uno
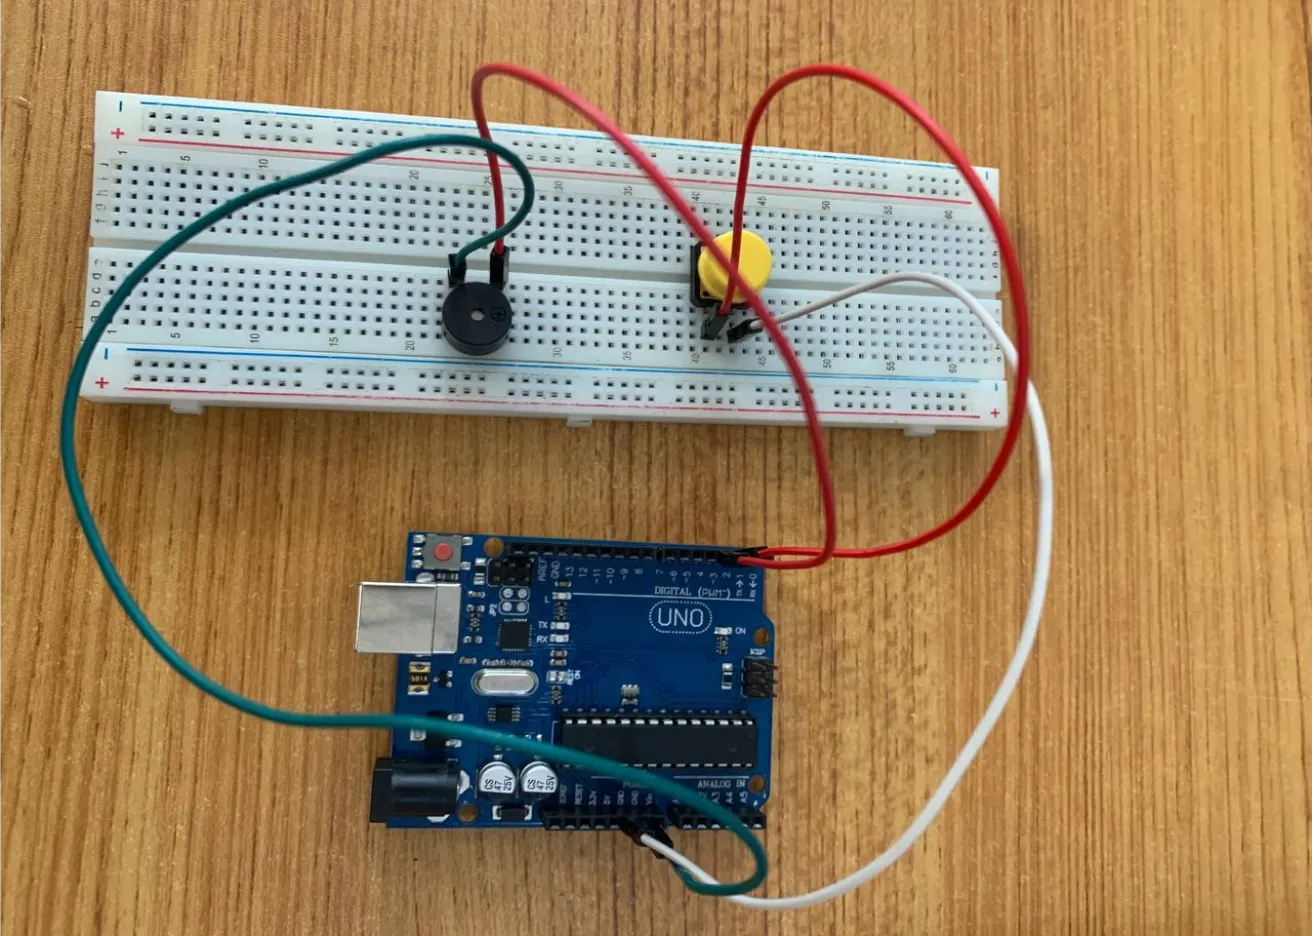
step 5: Connect the one end of the white jumper wire to the GND of the Traffic light on the breadboard and the other end to GND on the Arduino UNO board.
PROGRAMMING
Step 1: Open your Arduino IDE. See how to set up here: Getting Started.
Step 2: Type the following codes before the void setup function.
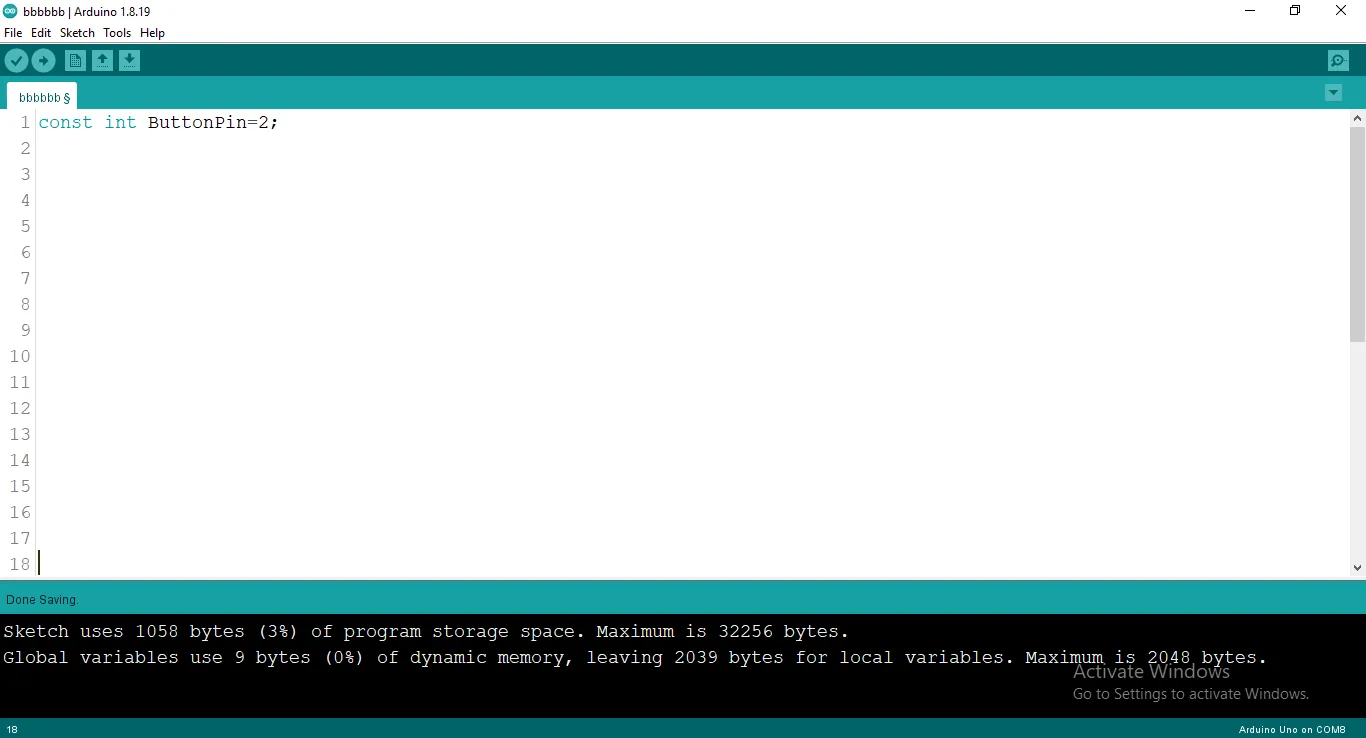 .
.
Step 3: typeint B = 3;as shown in the picture below.
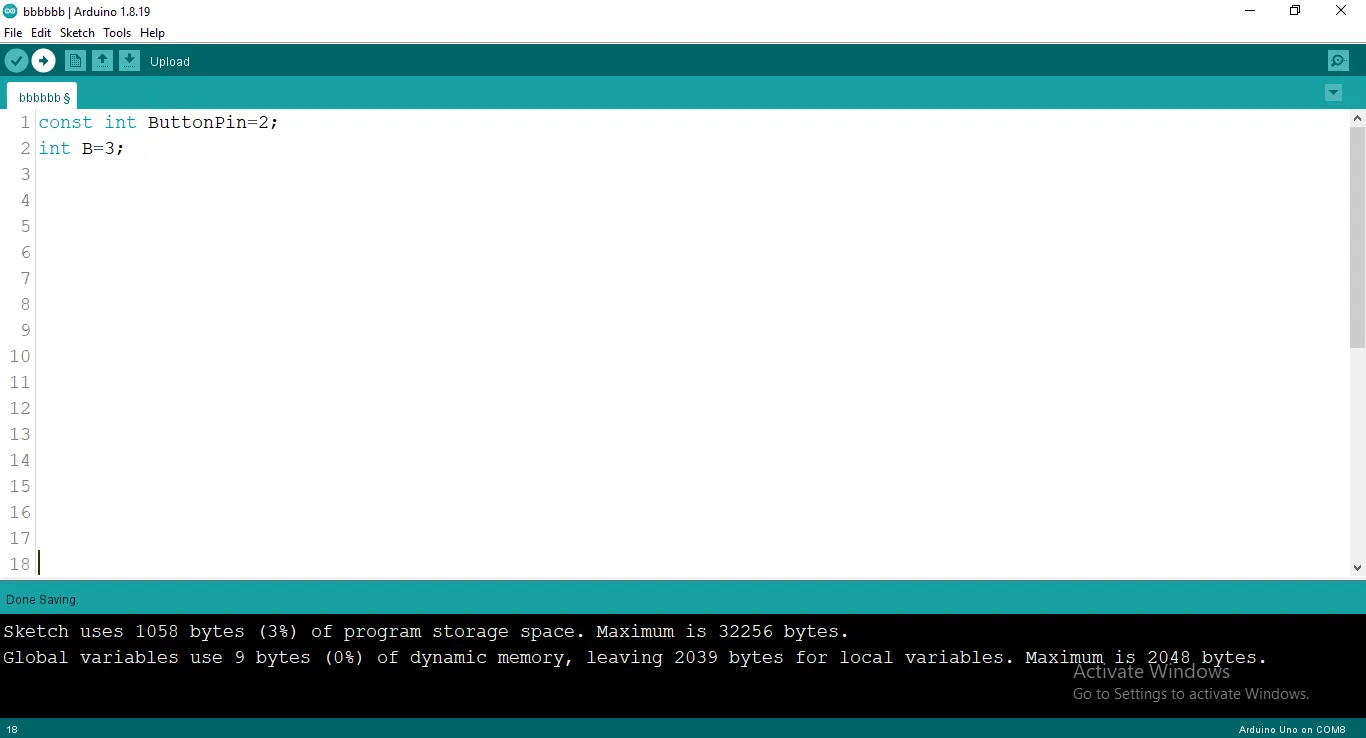 .
.
Step 4: Type int buttonState= 0; as shown in the picture below.
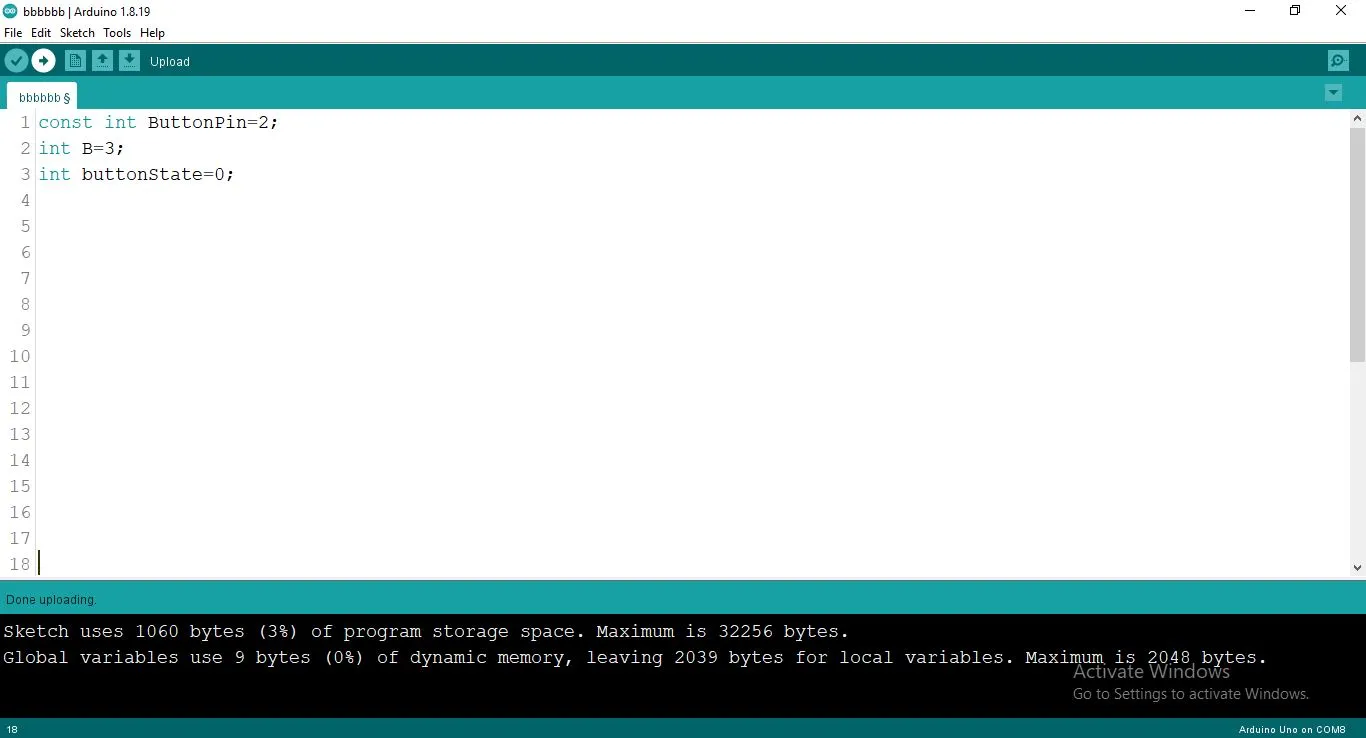 .
.
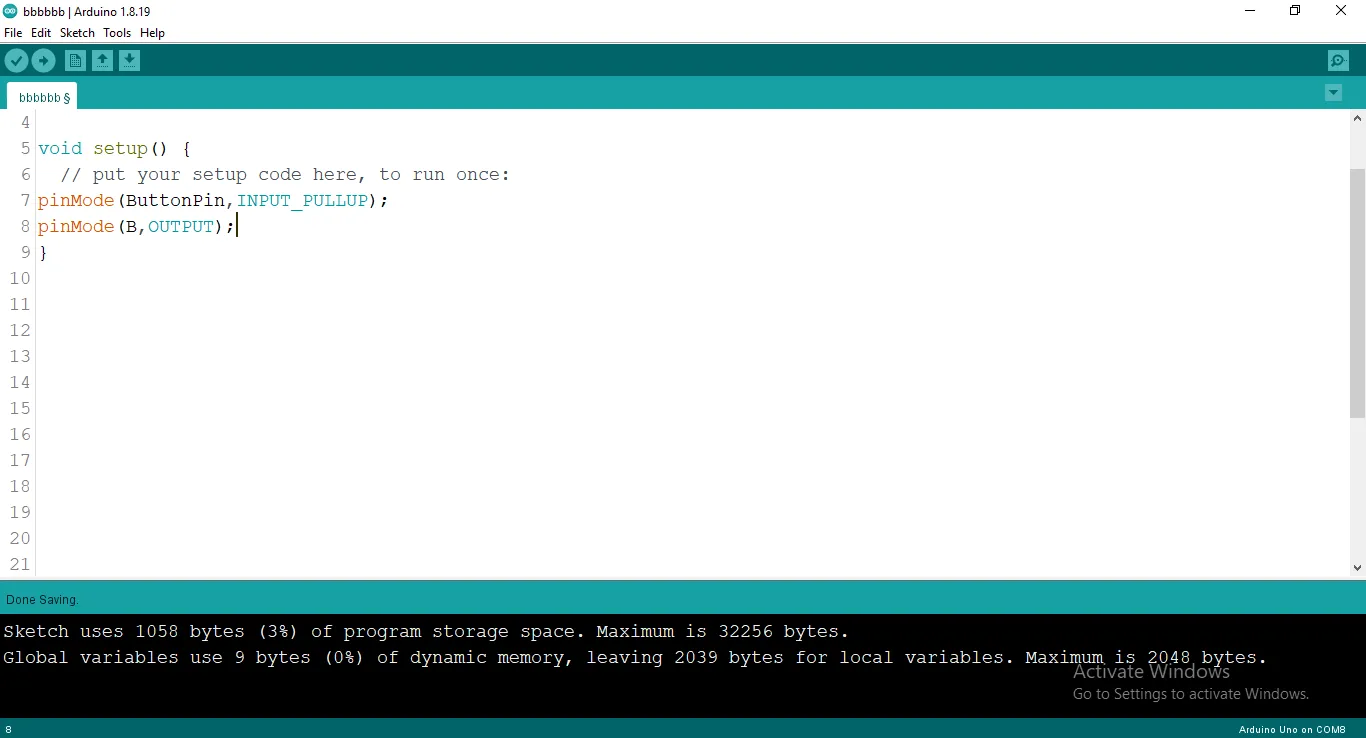
Step 5: After the void setup ()within the curly brackets type the following codes.
 .
.
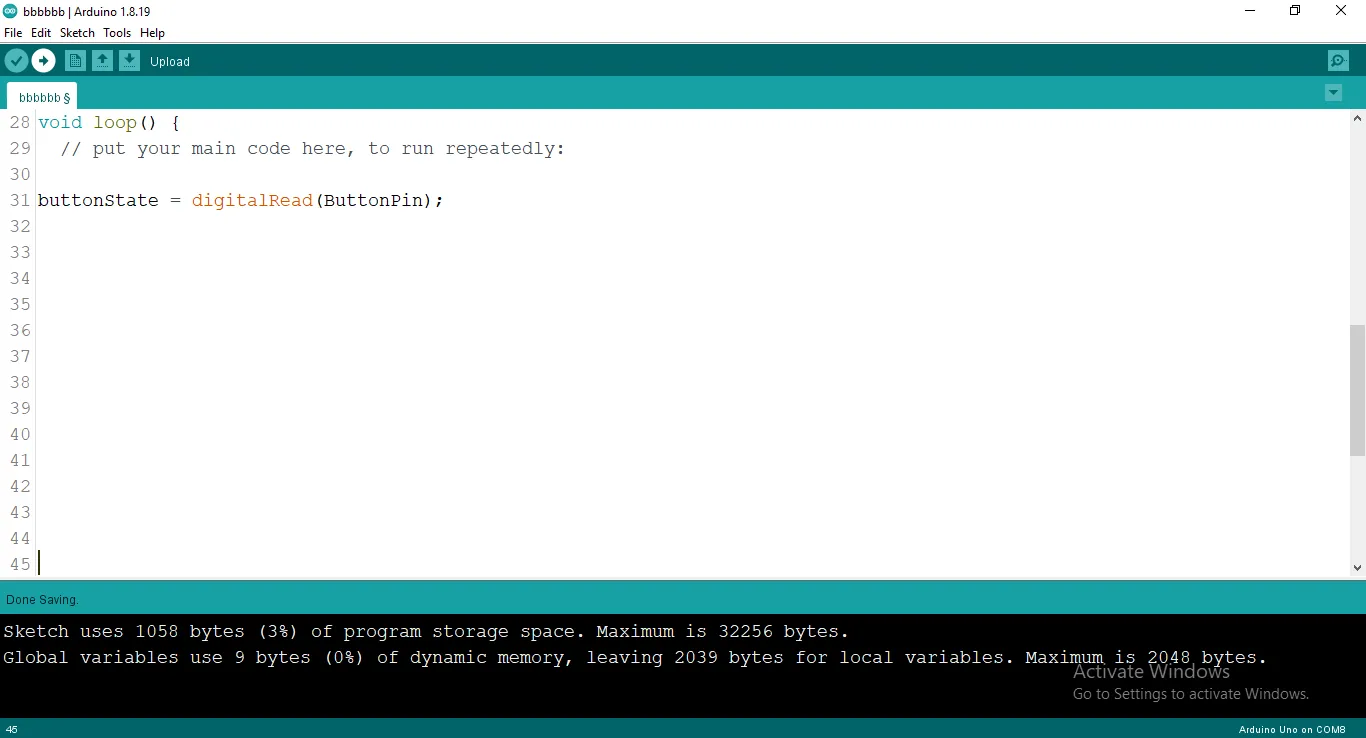
Step 6: : After the (void loop ()) within the curly brackets type
 .
.
Step 7: :Now let type
 .
.
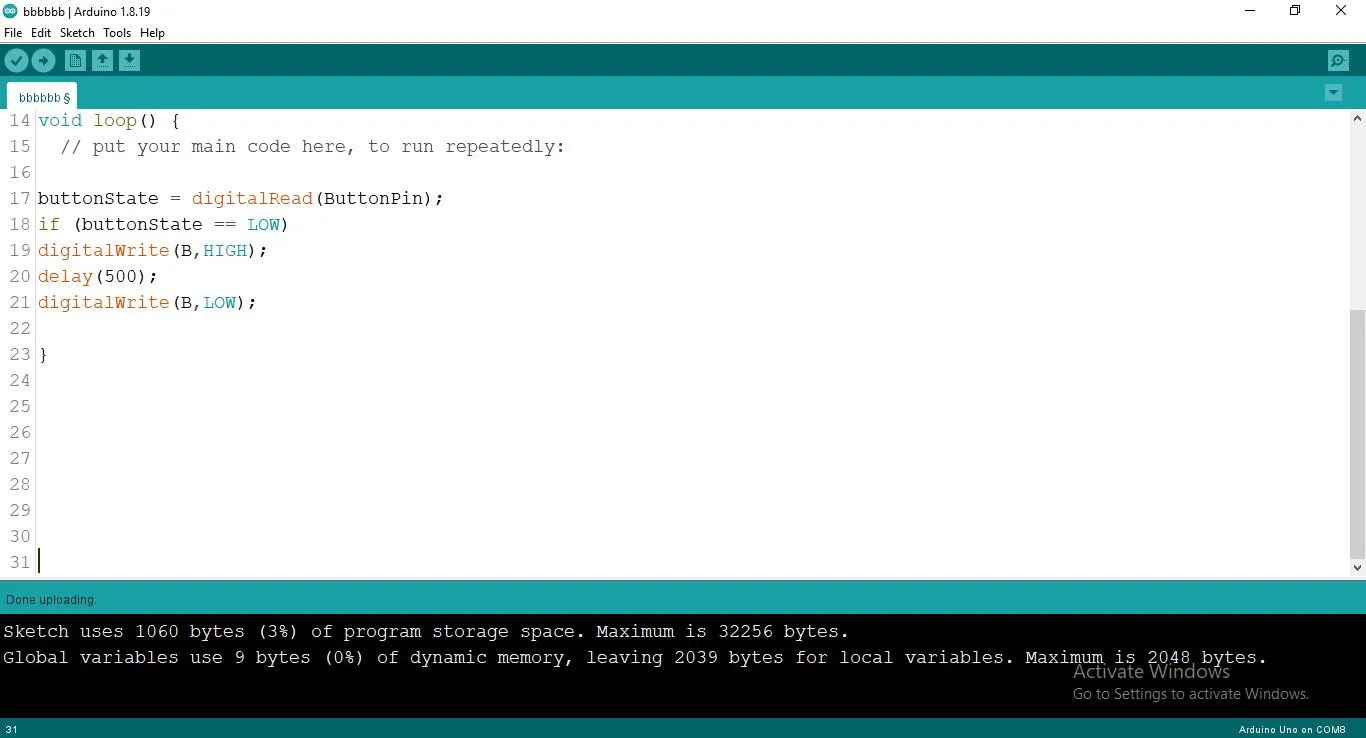
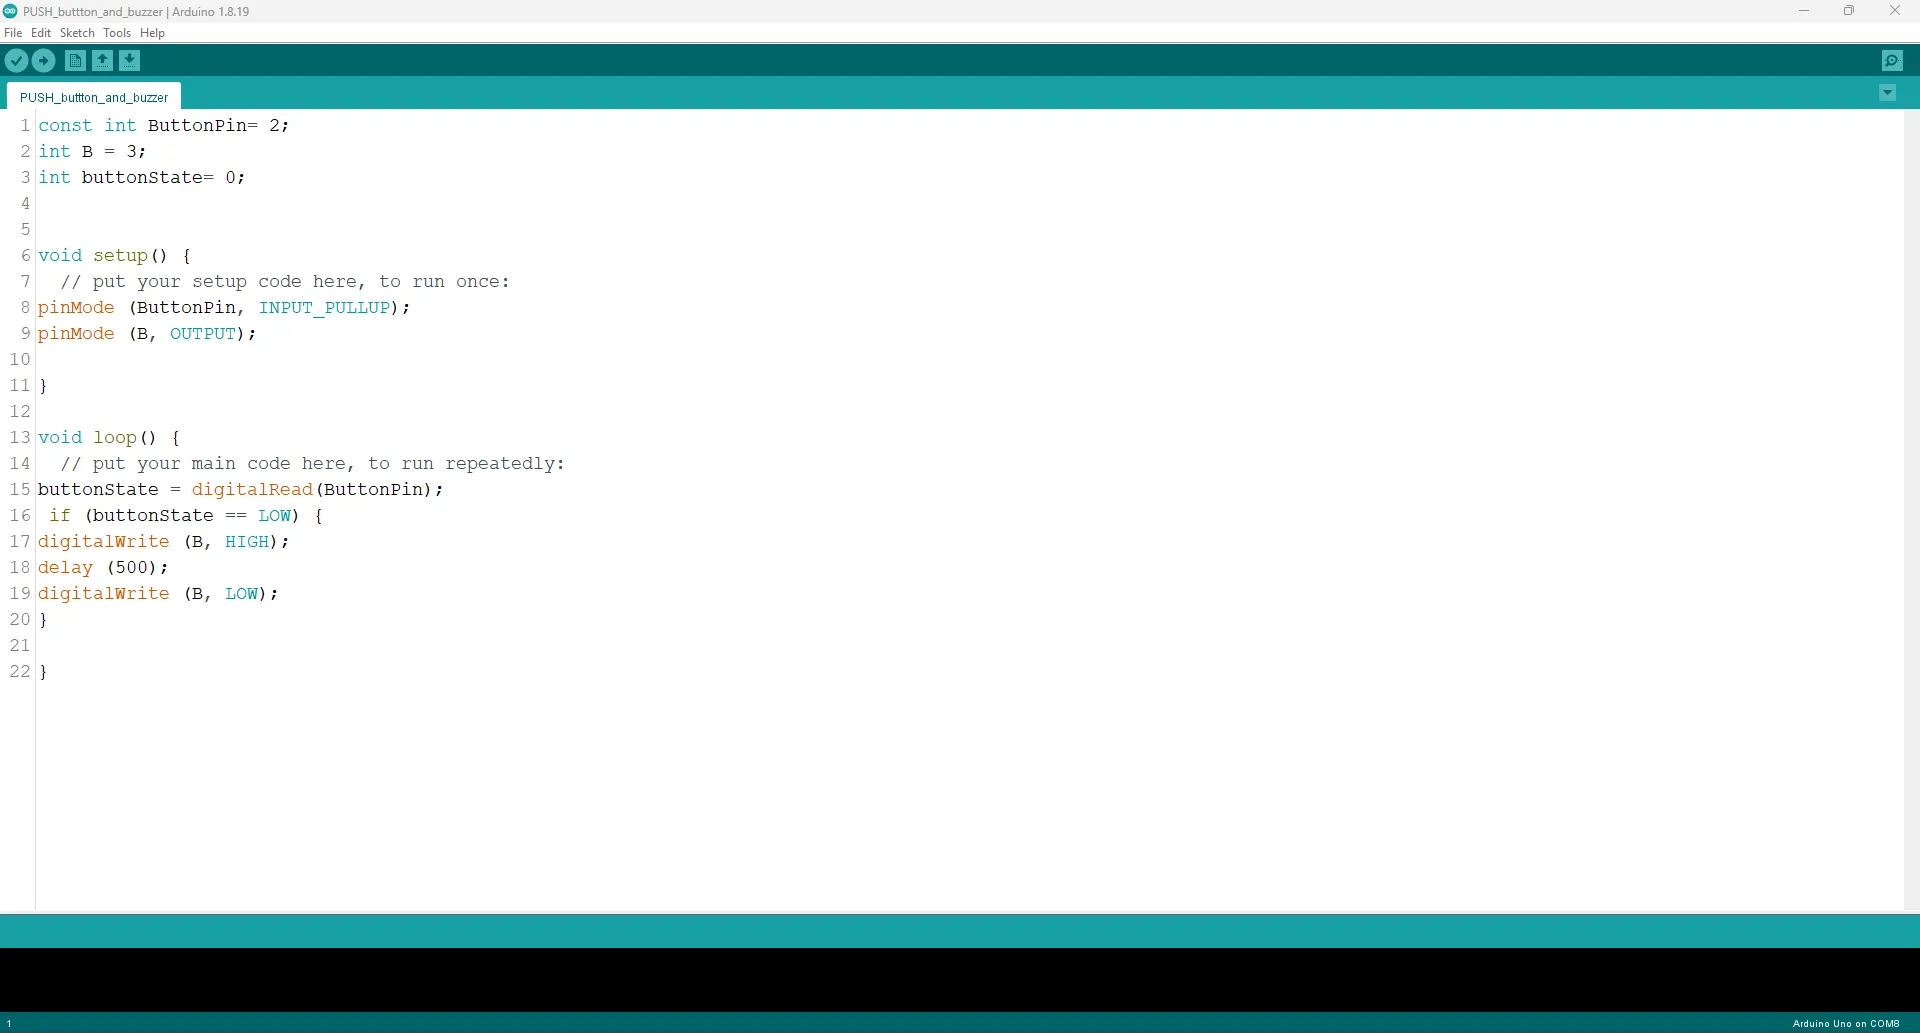
Step 8: After all you are expercted to see this code.
 .
.
Uploading the code
Step 1: Save your code. See the Getting Started section
Step 2: Select the arduino board and port See the Getting Started section:Selecting Arduino Board Type and Uploading your code.
Step 3: Upload your code. See the Getting Started section:Selecting Arduino Board Type and Uploading your code
CONCLUSION
If any issues arise during the upload, recheck the wiring and code for errors. Upon successful testing, this project demonstrates how to use a push button to control a buzzer, laying the foundation for interactive systems.