Getting Started
Here's a quick overview of what you can expect from our guides:
The Arduino IDE and Basic Set Up
Step 1: Double click on the Arduino IDE icon on your computer / laptop to open Arduino IDE.
 .
.
Step 2: Find the three buttons in the top right corner of the window.
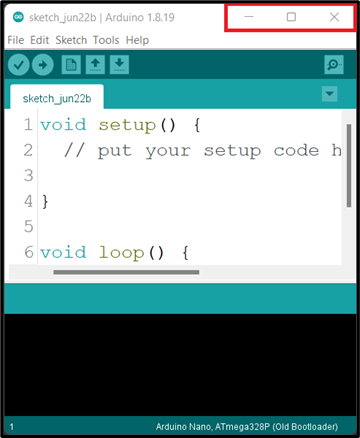
Step 3: Click the middle button "Maximize" in the top right corner of the window to maximize its size.
 .
.
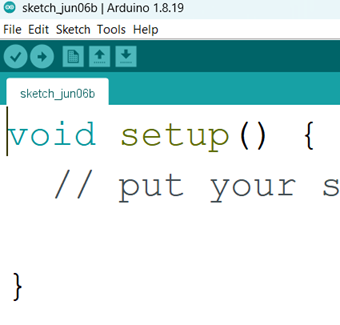
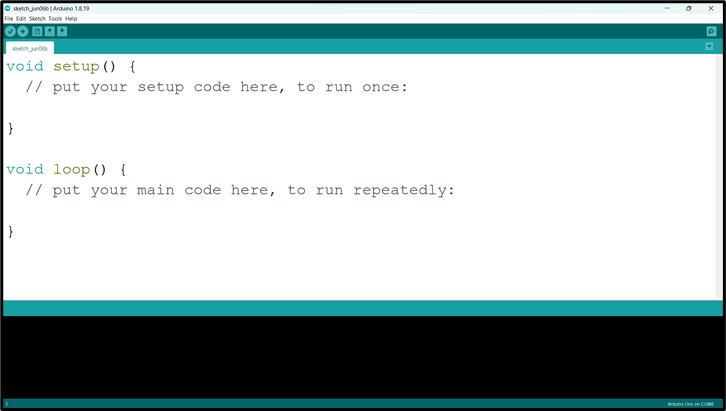
At the point you should see the code below on your computer / laptop.

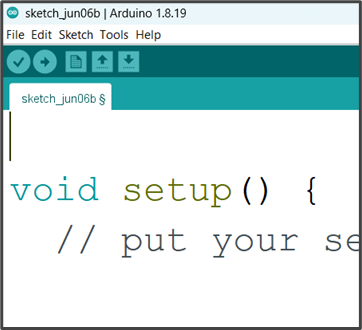
Step 4: Left Click before the ( void setup () ) and click on the Enter key on your keyboard to get space at the top of the void setup(). Then click above the void setup().
 |
 |
|---|---|
NB: we will write the necessary code and comment at the space we created above the void setup ().
Comment
In programming, a comment is a piece of text that is added to the source code of a program to provide information or explanations. Comments are intended for human readers and are ignored by the compiler or interpreter when the program is executed.
 .
.
NB: before you type a comment, type two slash (//) before you complete your sentence.
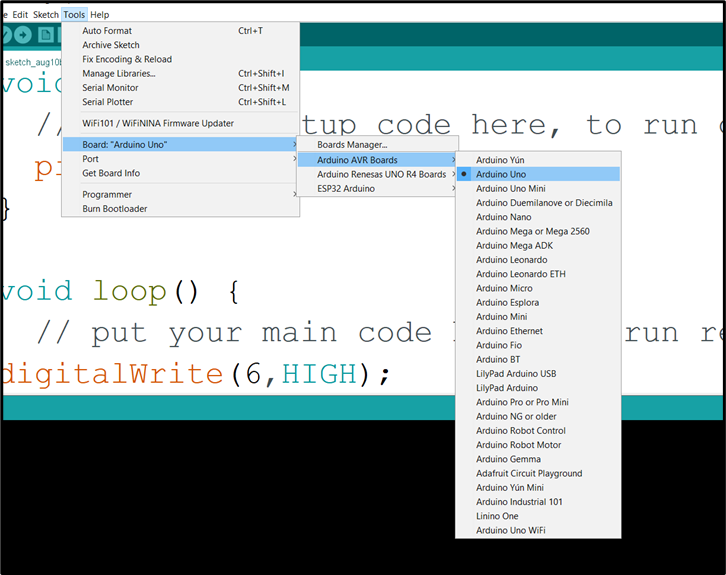
Step 1: Select the Board type. Click on tools on the menu bar hover your mouse on Board, a new window will appear. Look through and click on Arduino UNO.
 .
.
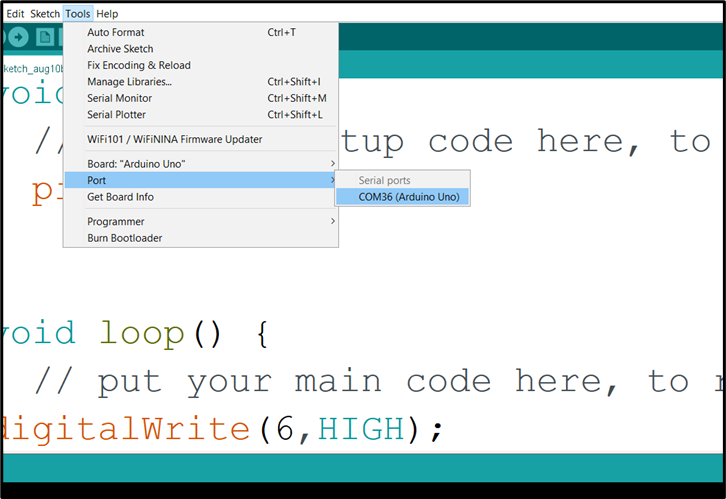
Step 2: Select the Port.
Click on tools on the menu bar and hover your mouse on Port, a new window will appear. Look through and click on COM which has Arduino Uno attached to it.
 .
.
NB: Your COM number may be different. In this example we have COM36 (Arduino Uno)
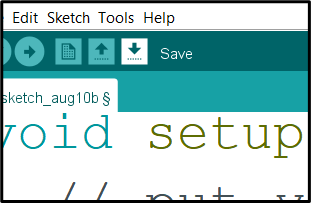
Step 3: Click Control S (CTRL S) on your keyboard or click Save on the Arduino task bar.
 .
.
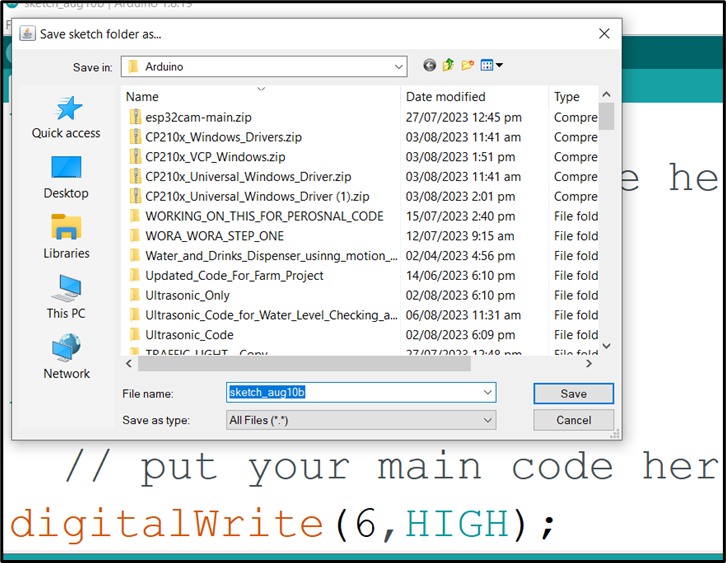
A new window will pop up, type the project name and click save.
 .
.
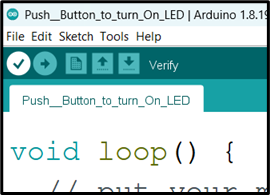
Step 4: Click Verify.
 .
.
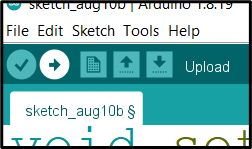
Step 5: Click Upload.
 .
.
NB: Make sure there is no error in your code and the Arduino USB cable is connected to your laptop / desktop before you click Upload.
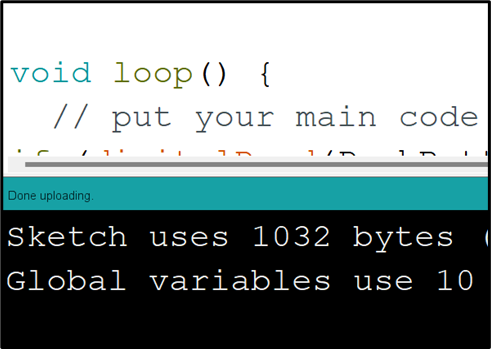
WAIT Done uploading
 .
.